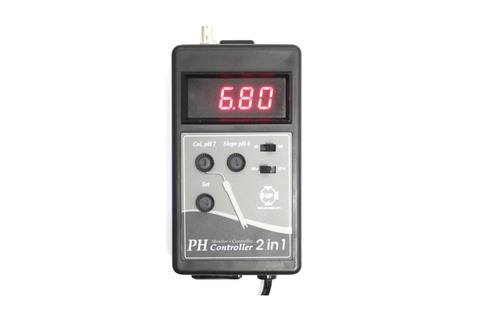
UP pH Controller Setup Instructions
Buy This pH Controller Here
Step-by-Step
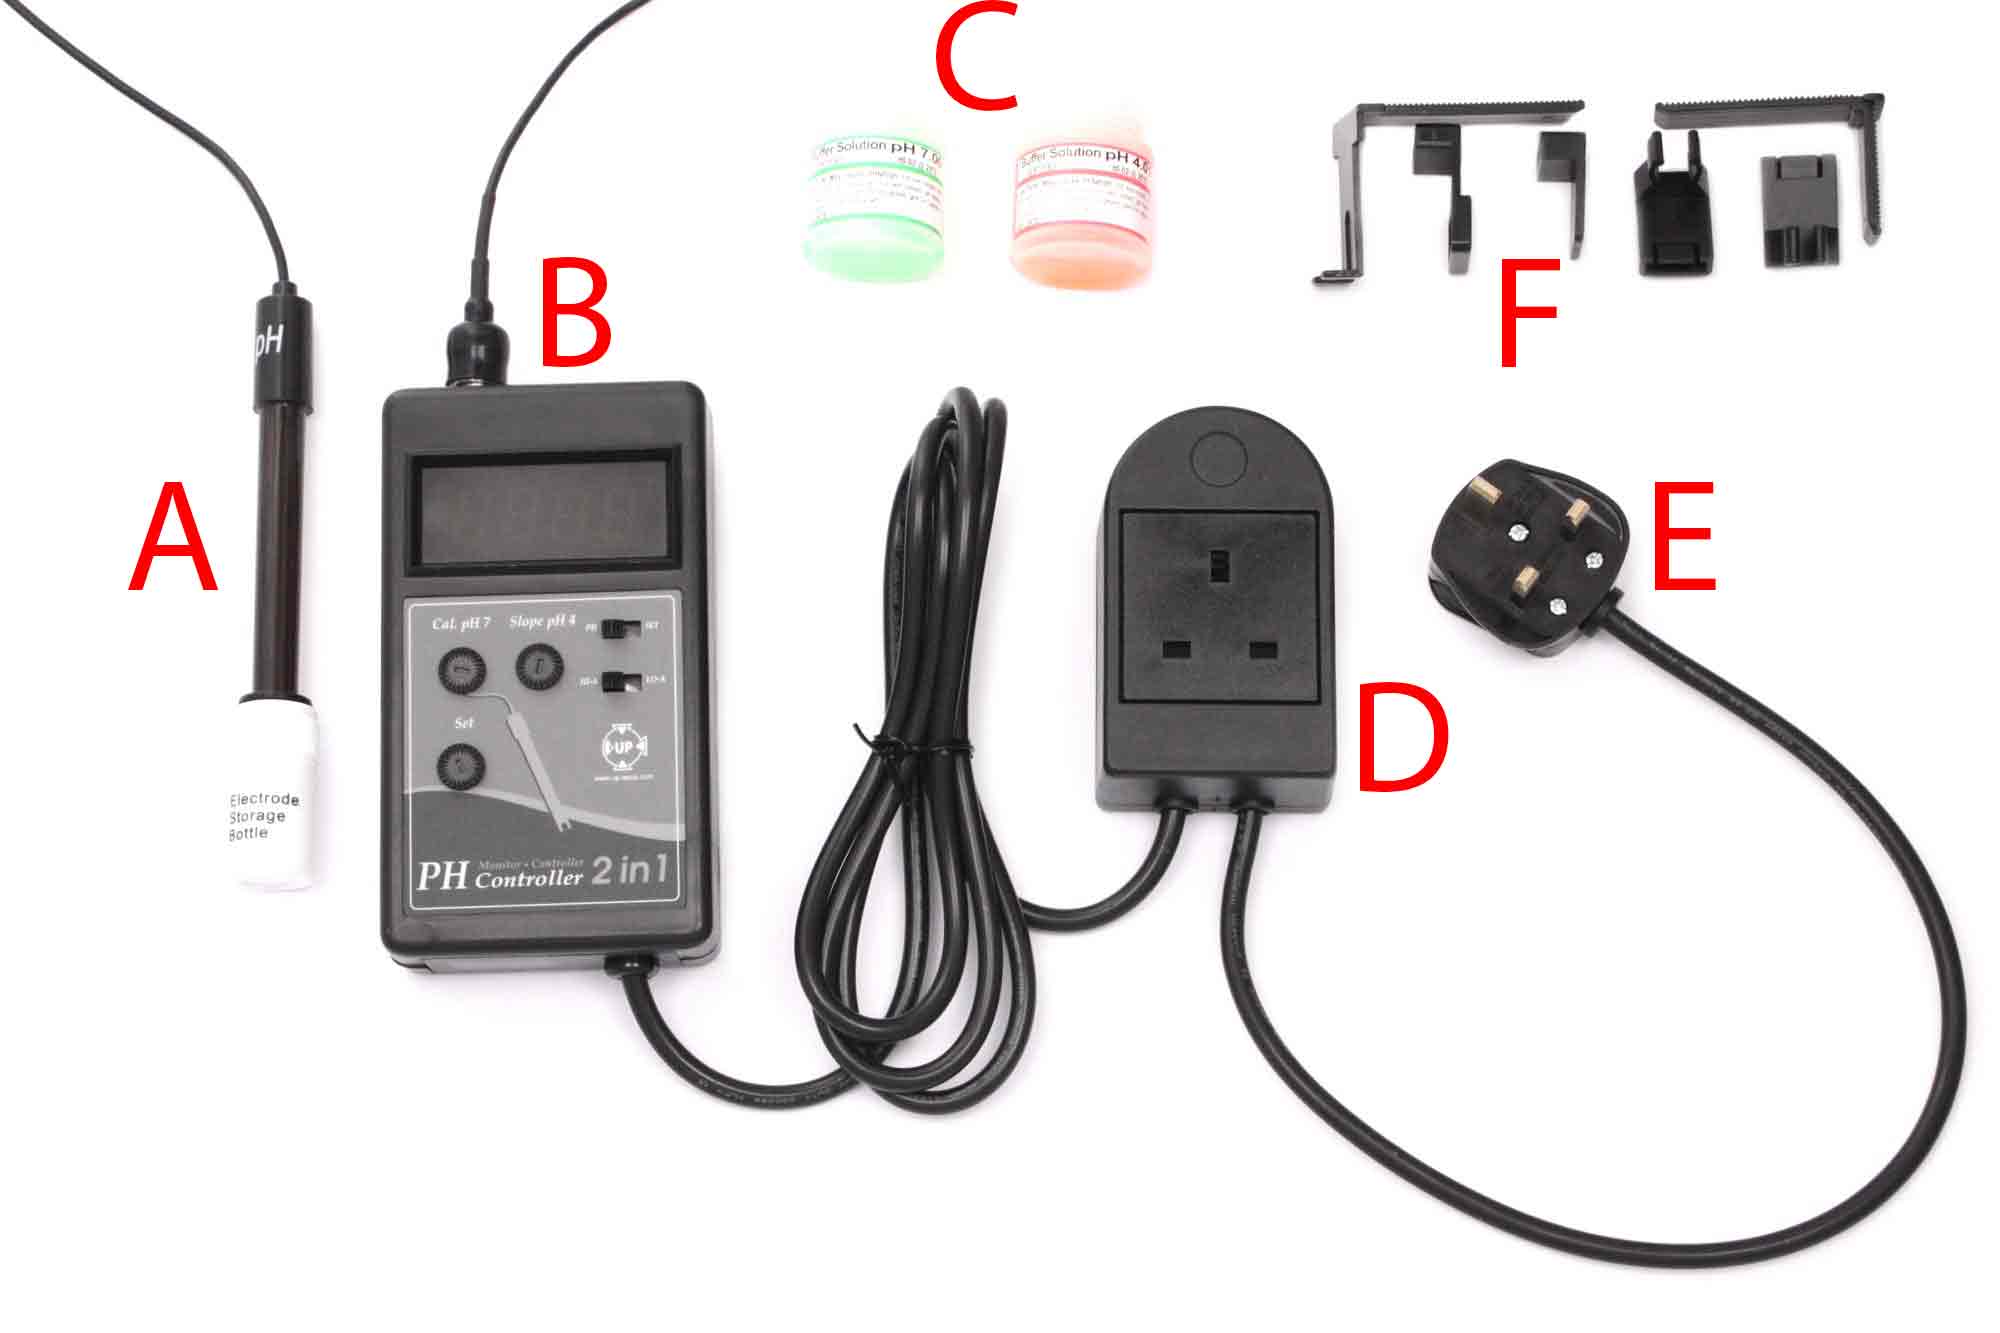
Step 1) Familiarise yourself with the parts:
A: pH Electrode / Probe.
B: Control Unit.
C: pH 4 and pH 7 Calibration Solutions.
D: Plug for Solenoid.
E: Mains plug.
F: Control Unit and Electrode mounting brackets.
A: pH Electrode / Probe.
B: Control Unit.
C: pH 4 and pH 7 Calibration Solutions.
D: Plug for Solenoid.
E: Mains plug.
F: Control Unit and Electrode mounting brackets.
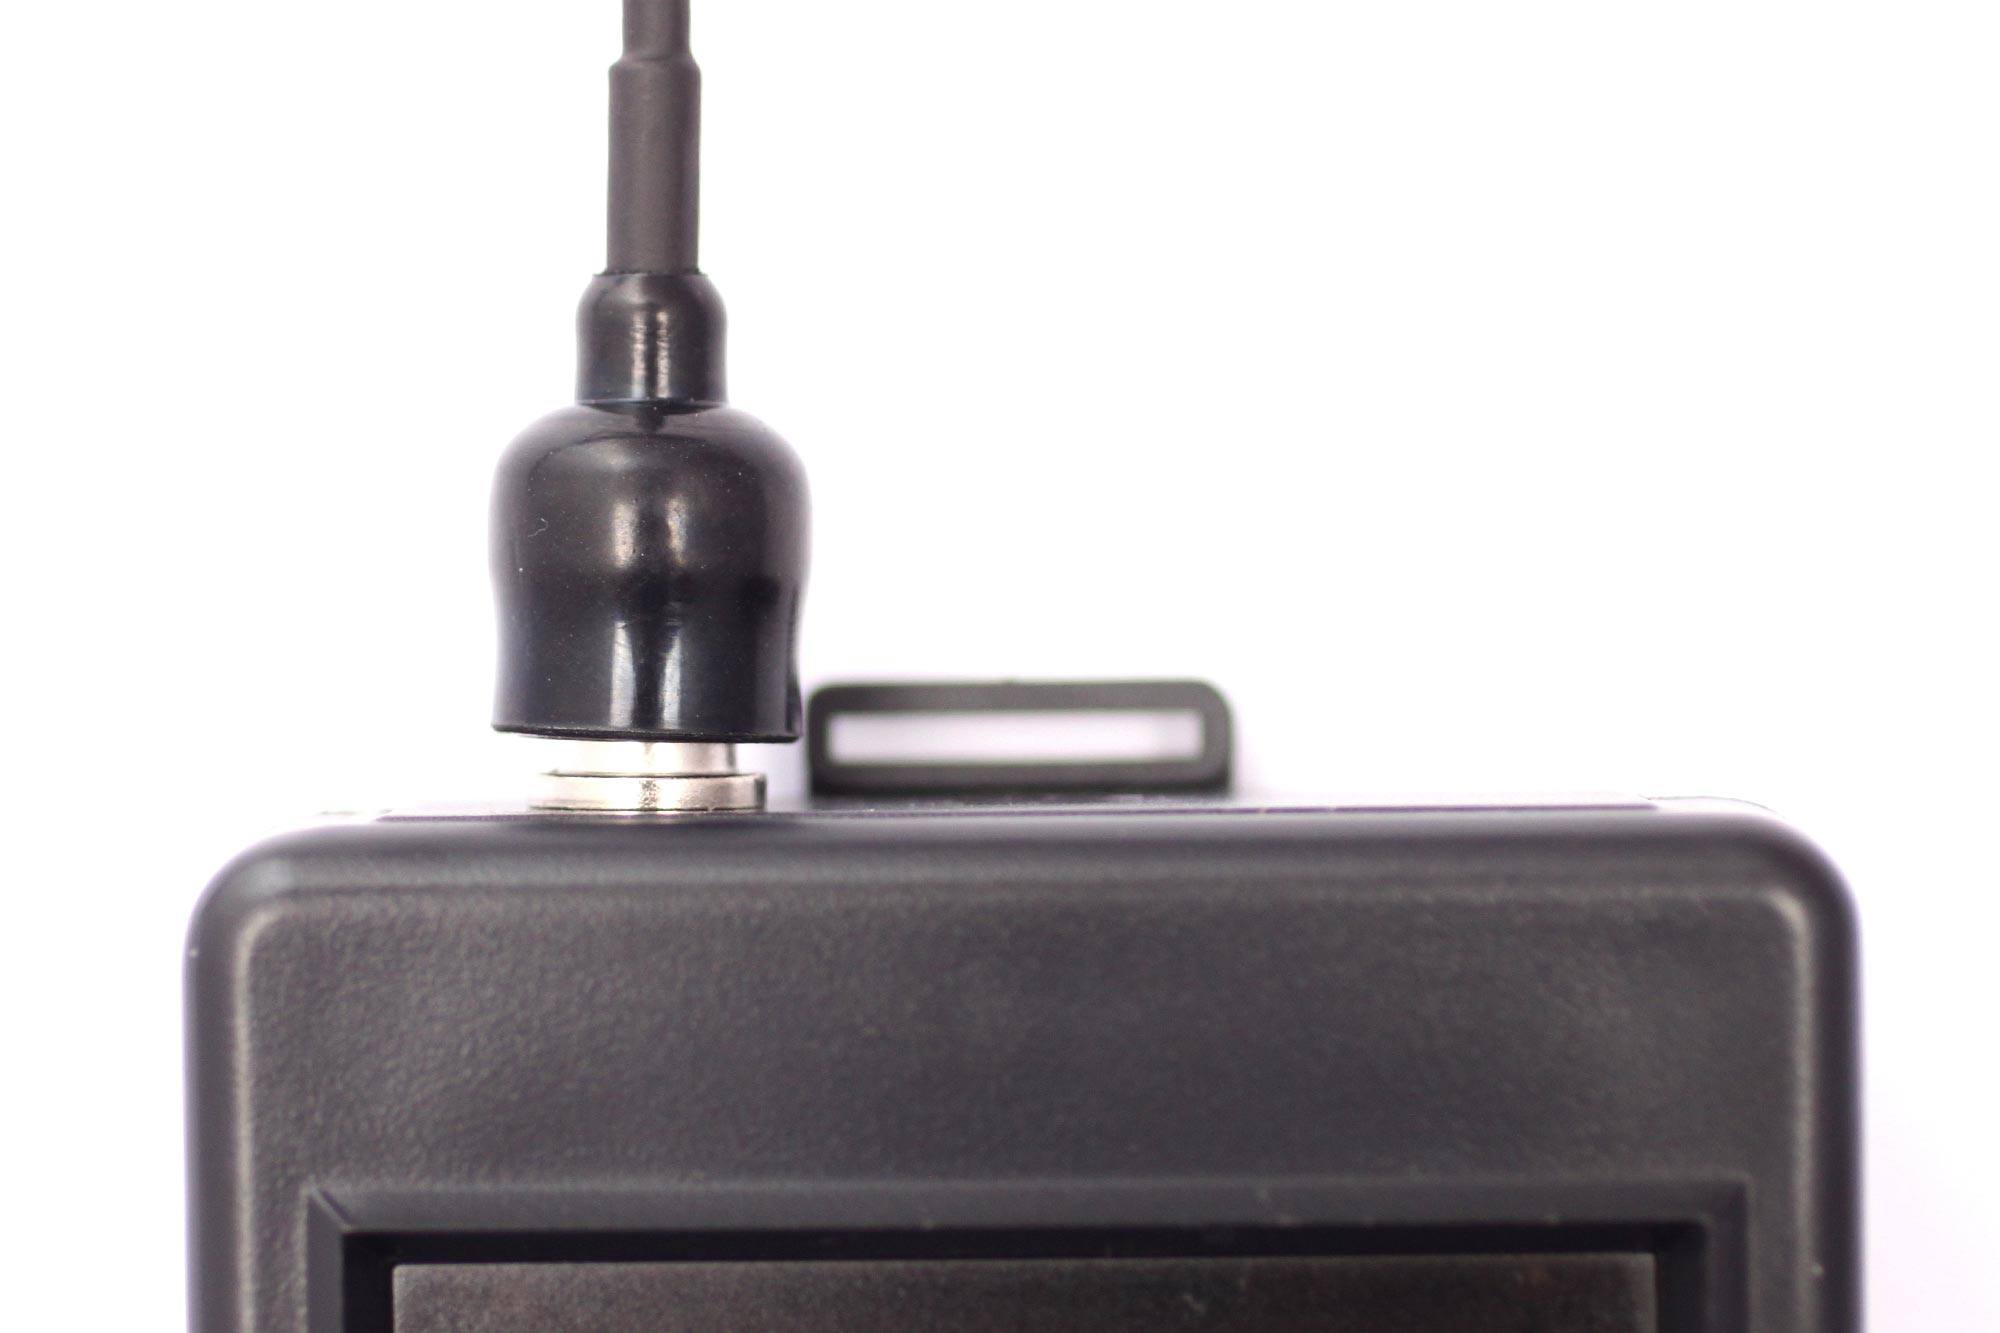
Step 2) Connect the pH Electrode to the control unit.
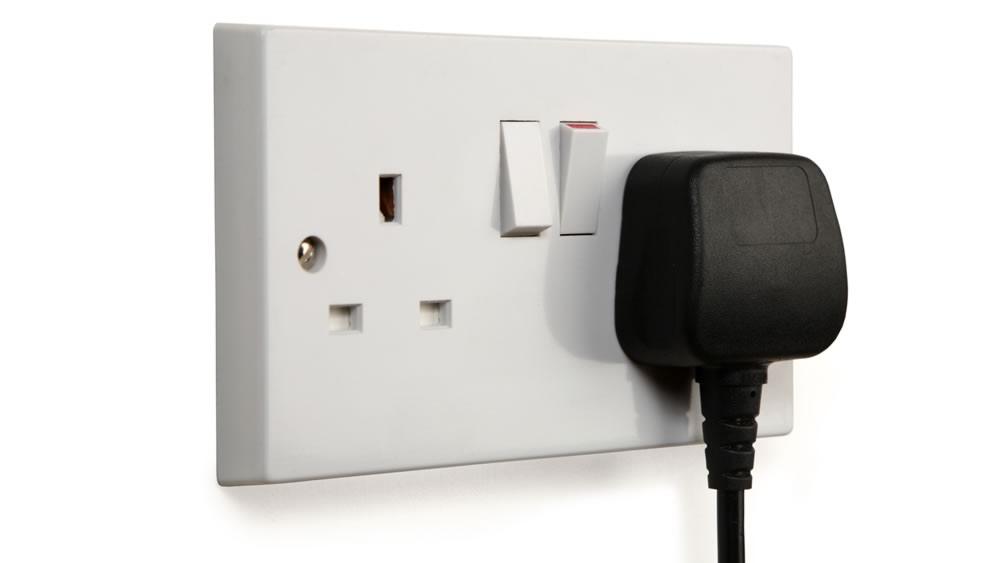
Step 3) Plug the pH Controller into mains socket and switch on.
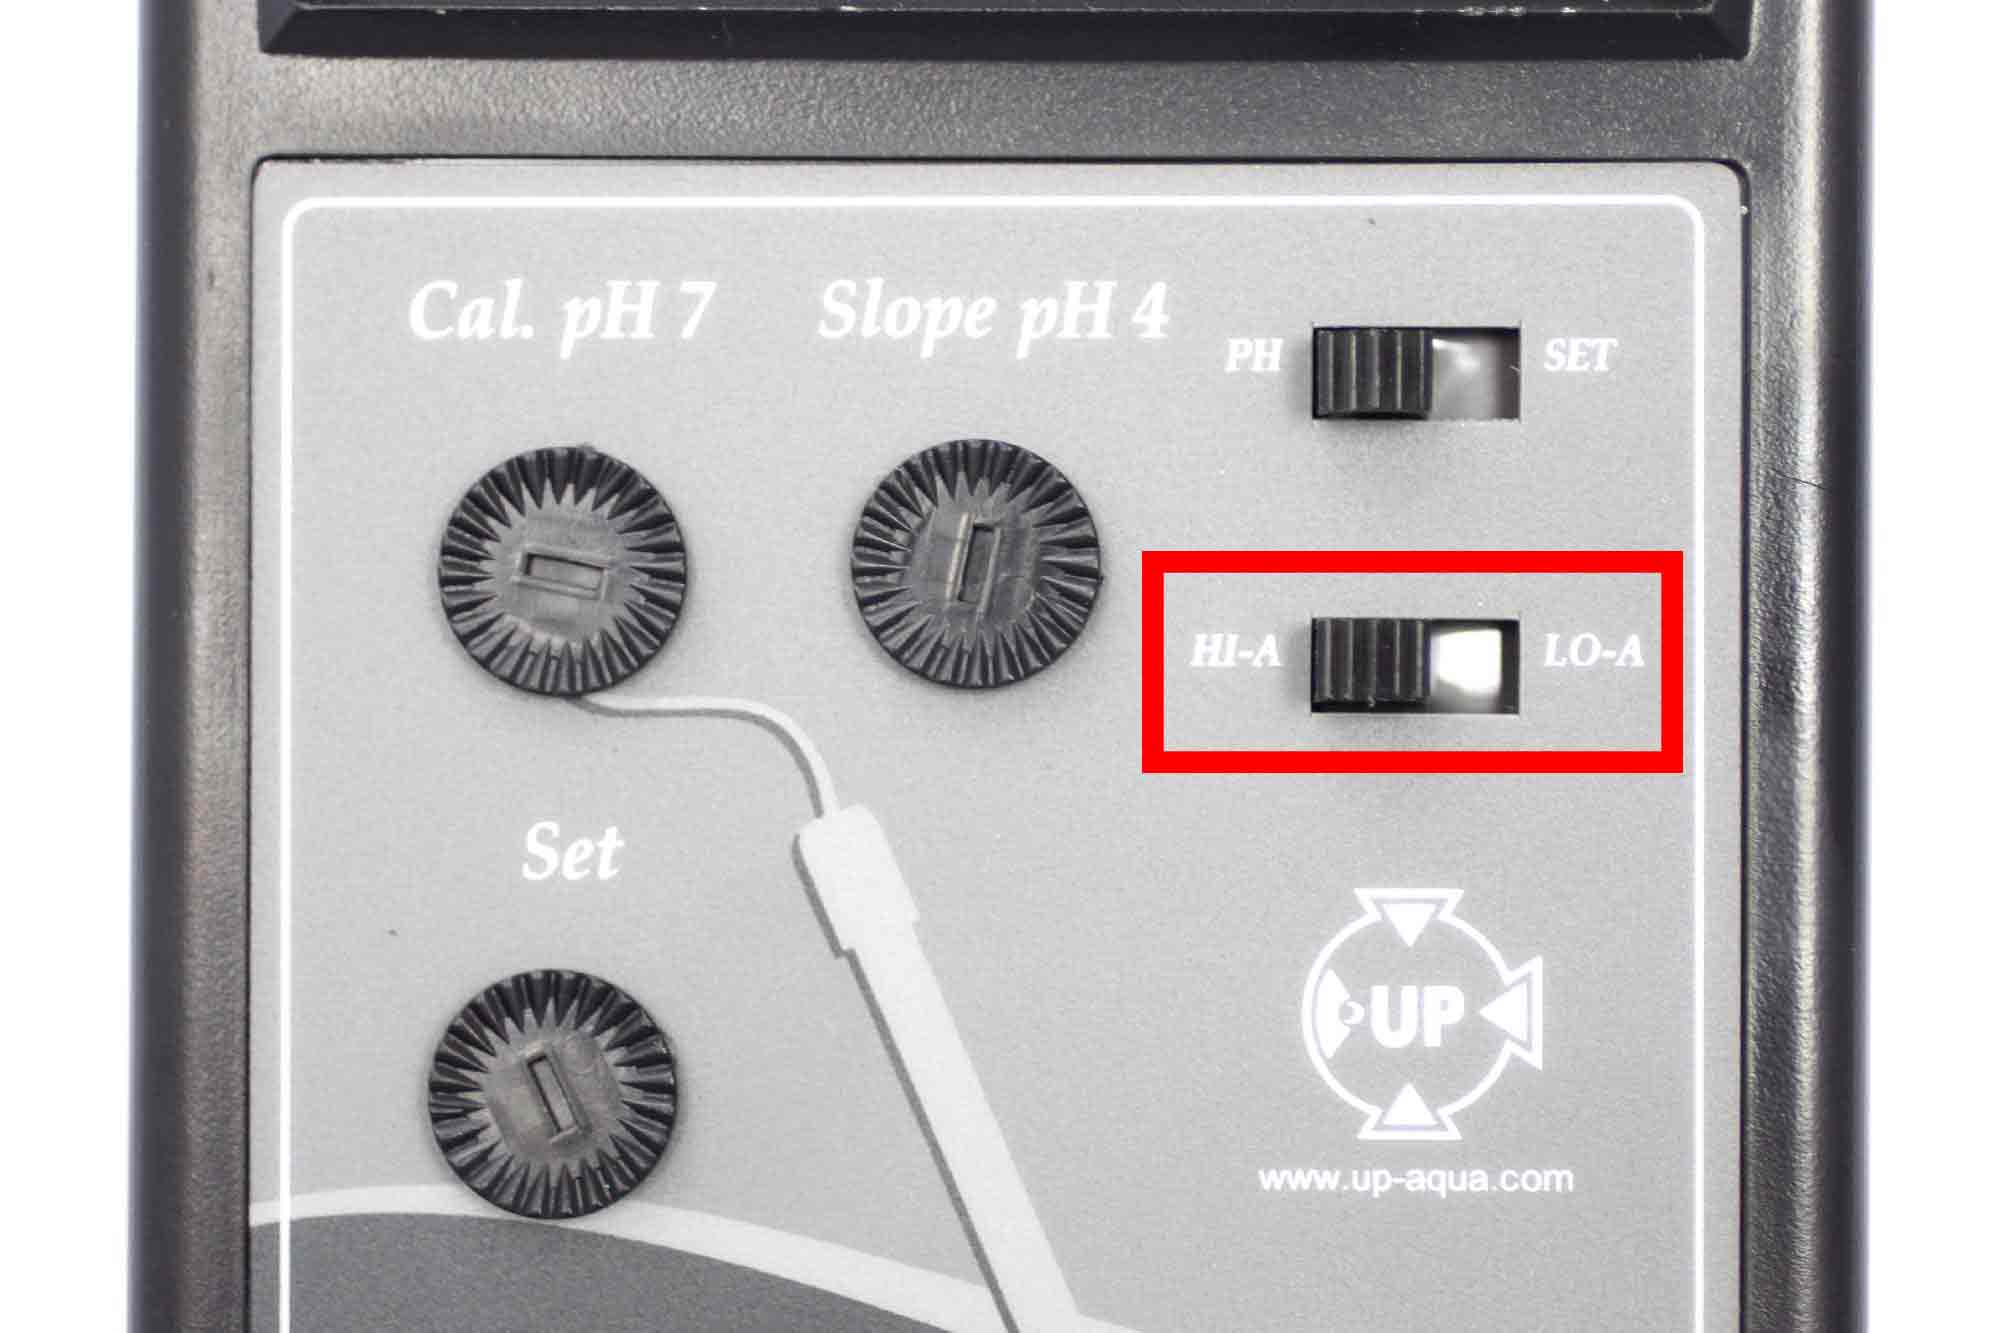
Step 4) If using 'HI-A' the controller will switch on the CO2 when the pH climbs ~0.1 above the target pH. It will remain switched on until the pH drops ~0.1 below the target pH.
If using 'LO-A' the controller will switch on when the pH drops ~0.1 below the target pH. It will remain switched on until the pH climbs ~0.1 above the target pH.
If using 'LO-A' the controller will switch on when the pH drops ~0.1 below the target pH. It will remain switched on until the pH climbs ~0.1 above the target pH.
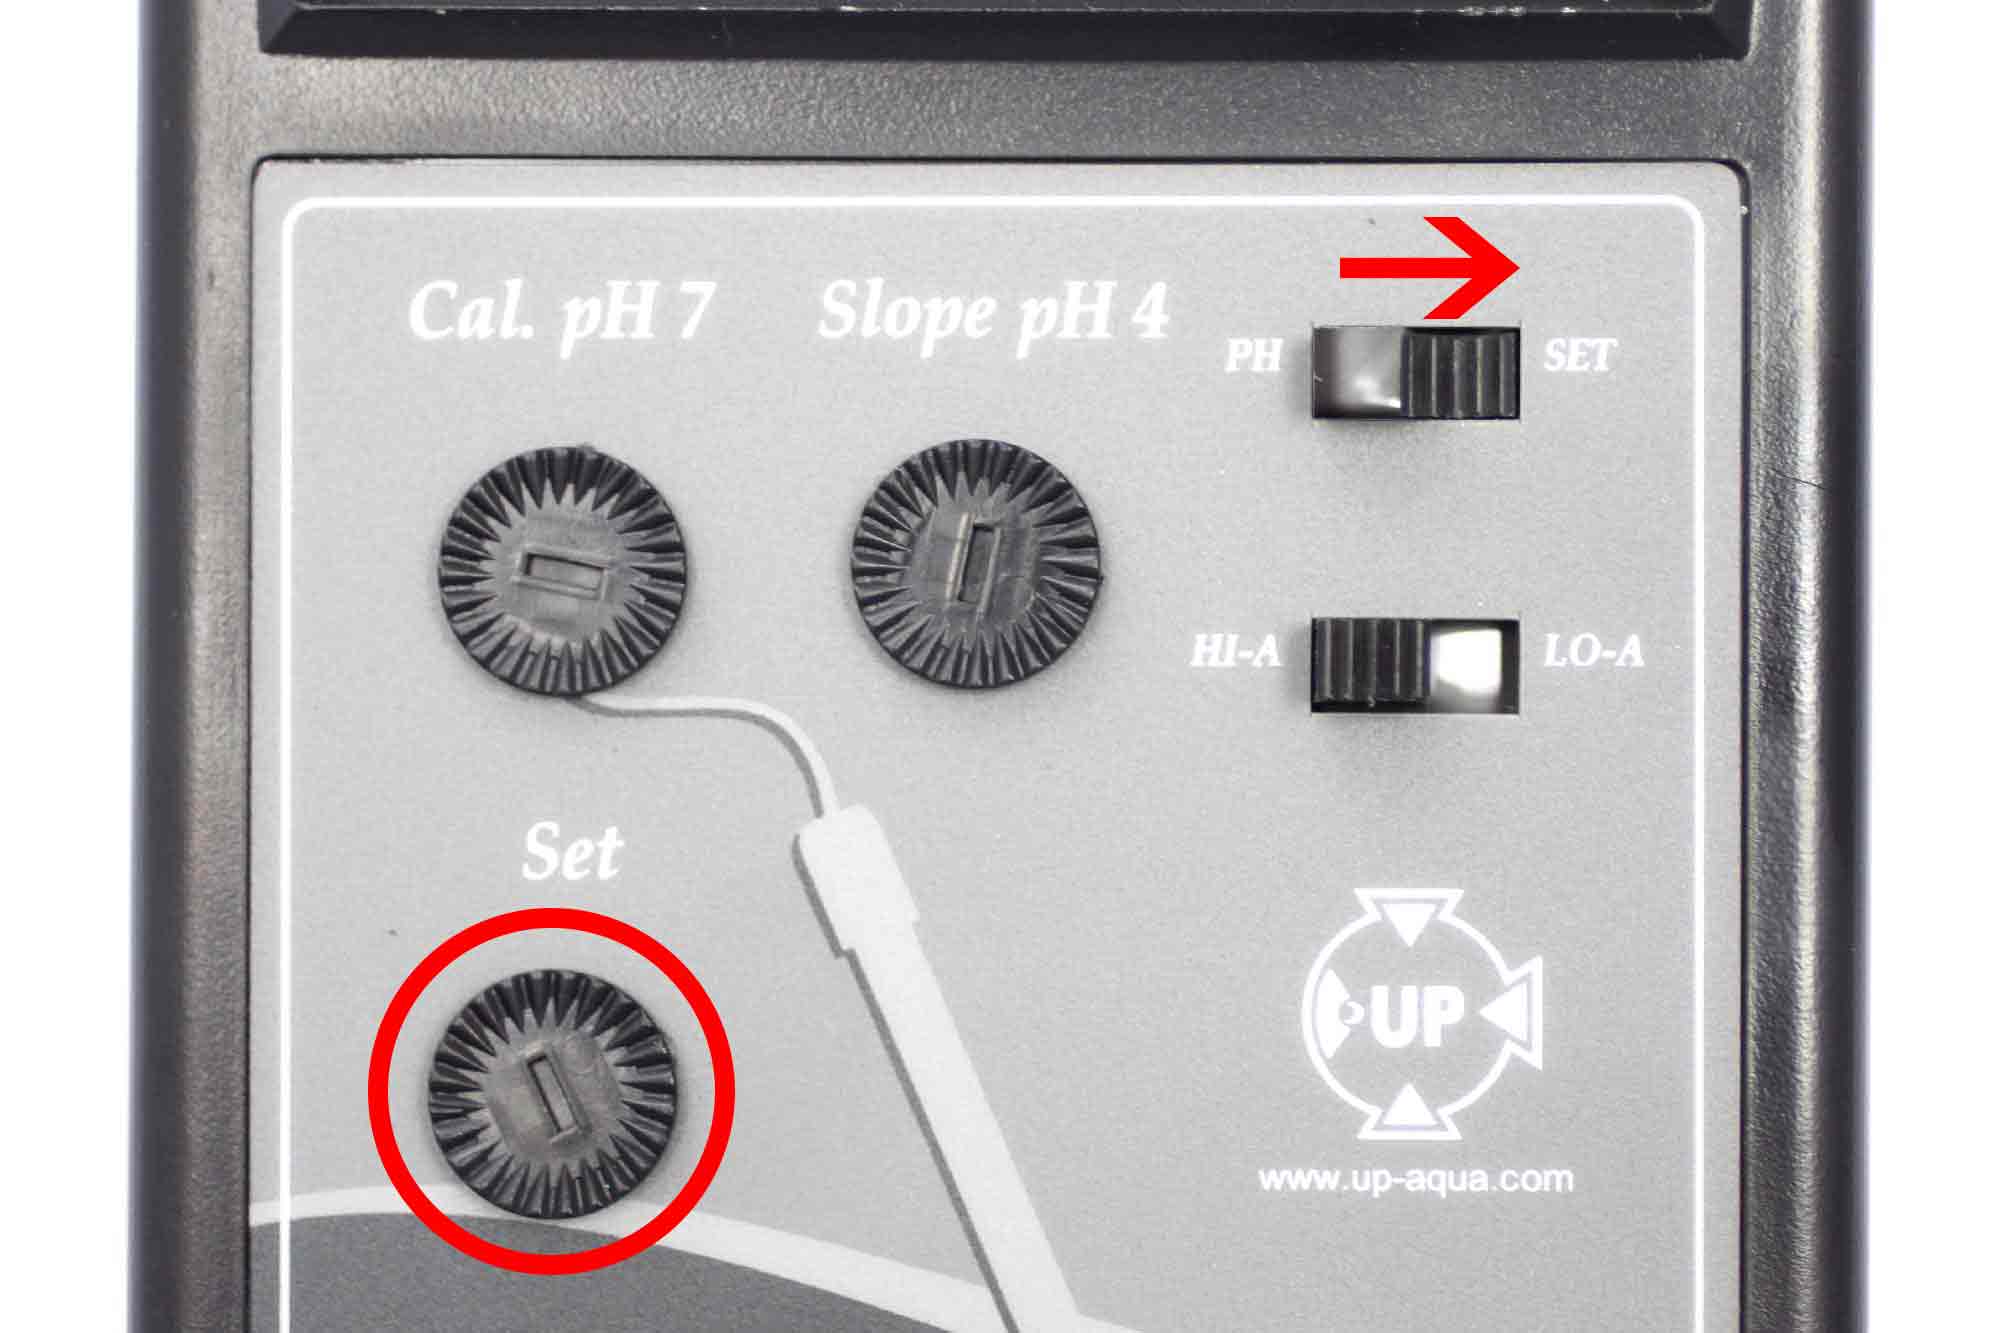
Step 5) Slide the switch to "SET" and adjust the target pH you wish to maintain in your aquarium.
The majority of aquatic plants and tropical fish prefer a pH of 6.8. But please check for your specific fish/plants whether they have certain requirements. Please remember, the health of your fish is always more important than that of your plants.
The majority of aquatic plants and tropical fish prefer a pH of 6.8. But please check for your specific fish/plants whether they have certain requirements. Please remember, the health of your fish is always more important than that of your plants.
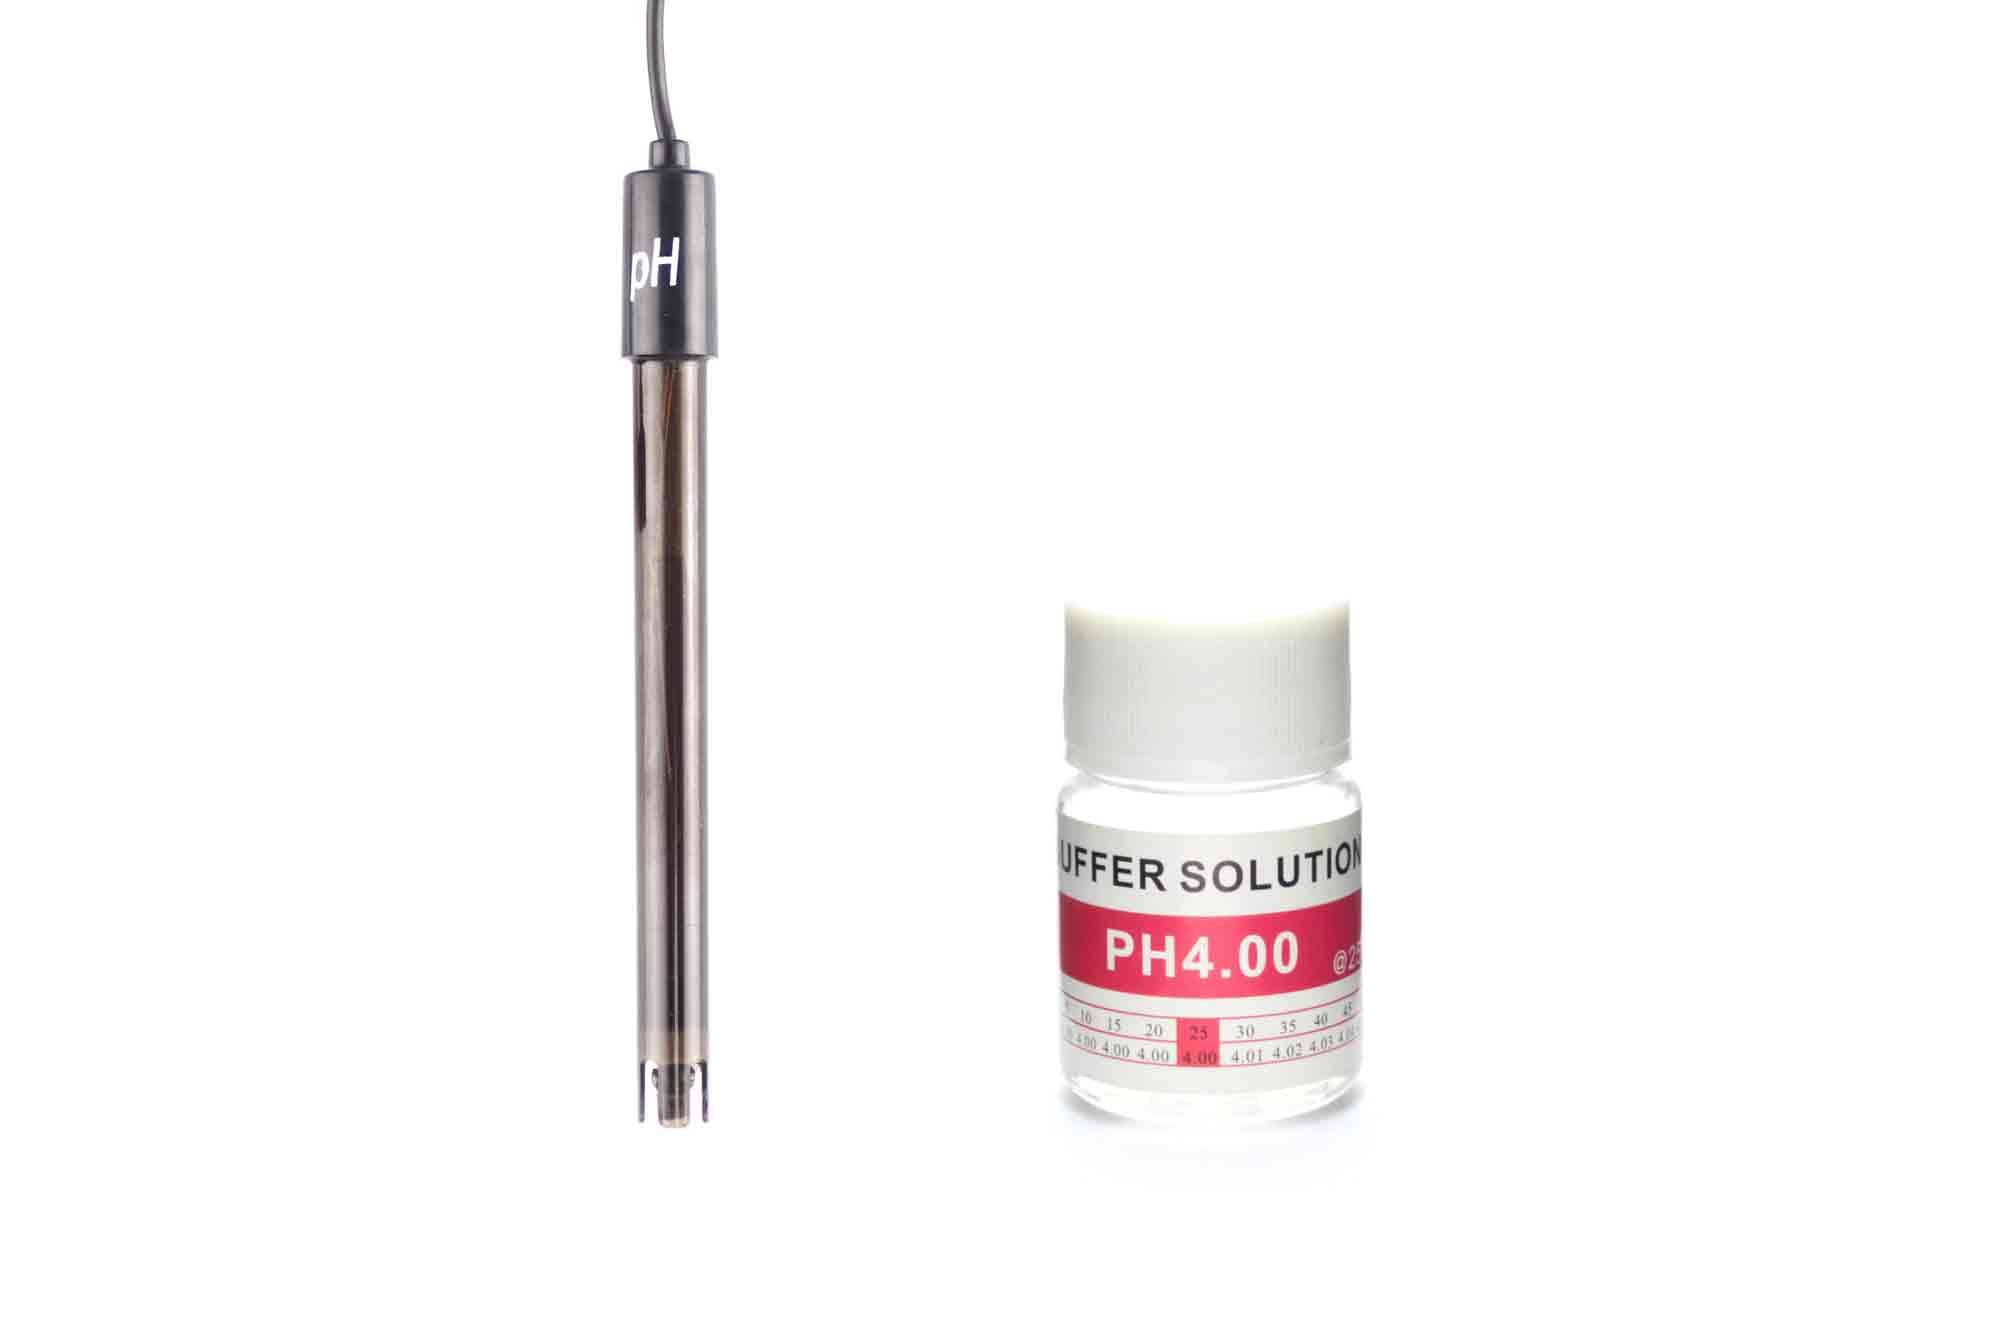
Step 6) Remove the electrode from its storage bottle and place the end of the electrode in the pH 4 calibration solution. Leave for 5 minutes for the electrode reading to stabilise.
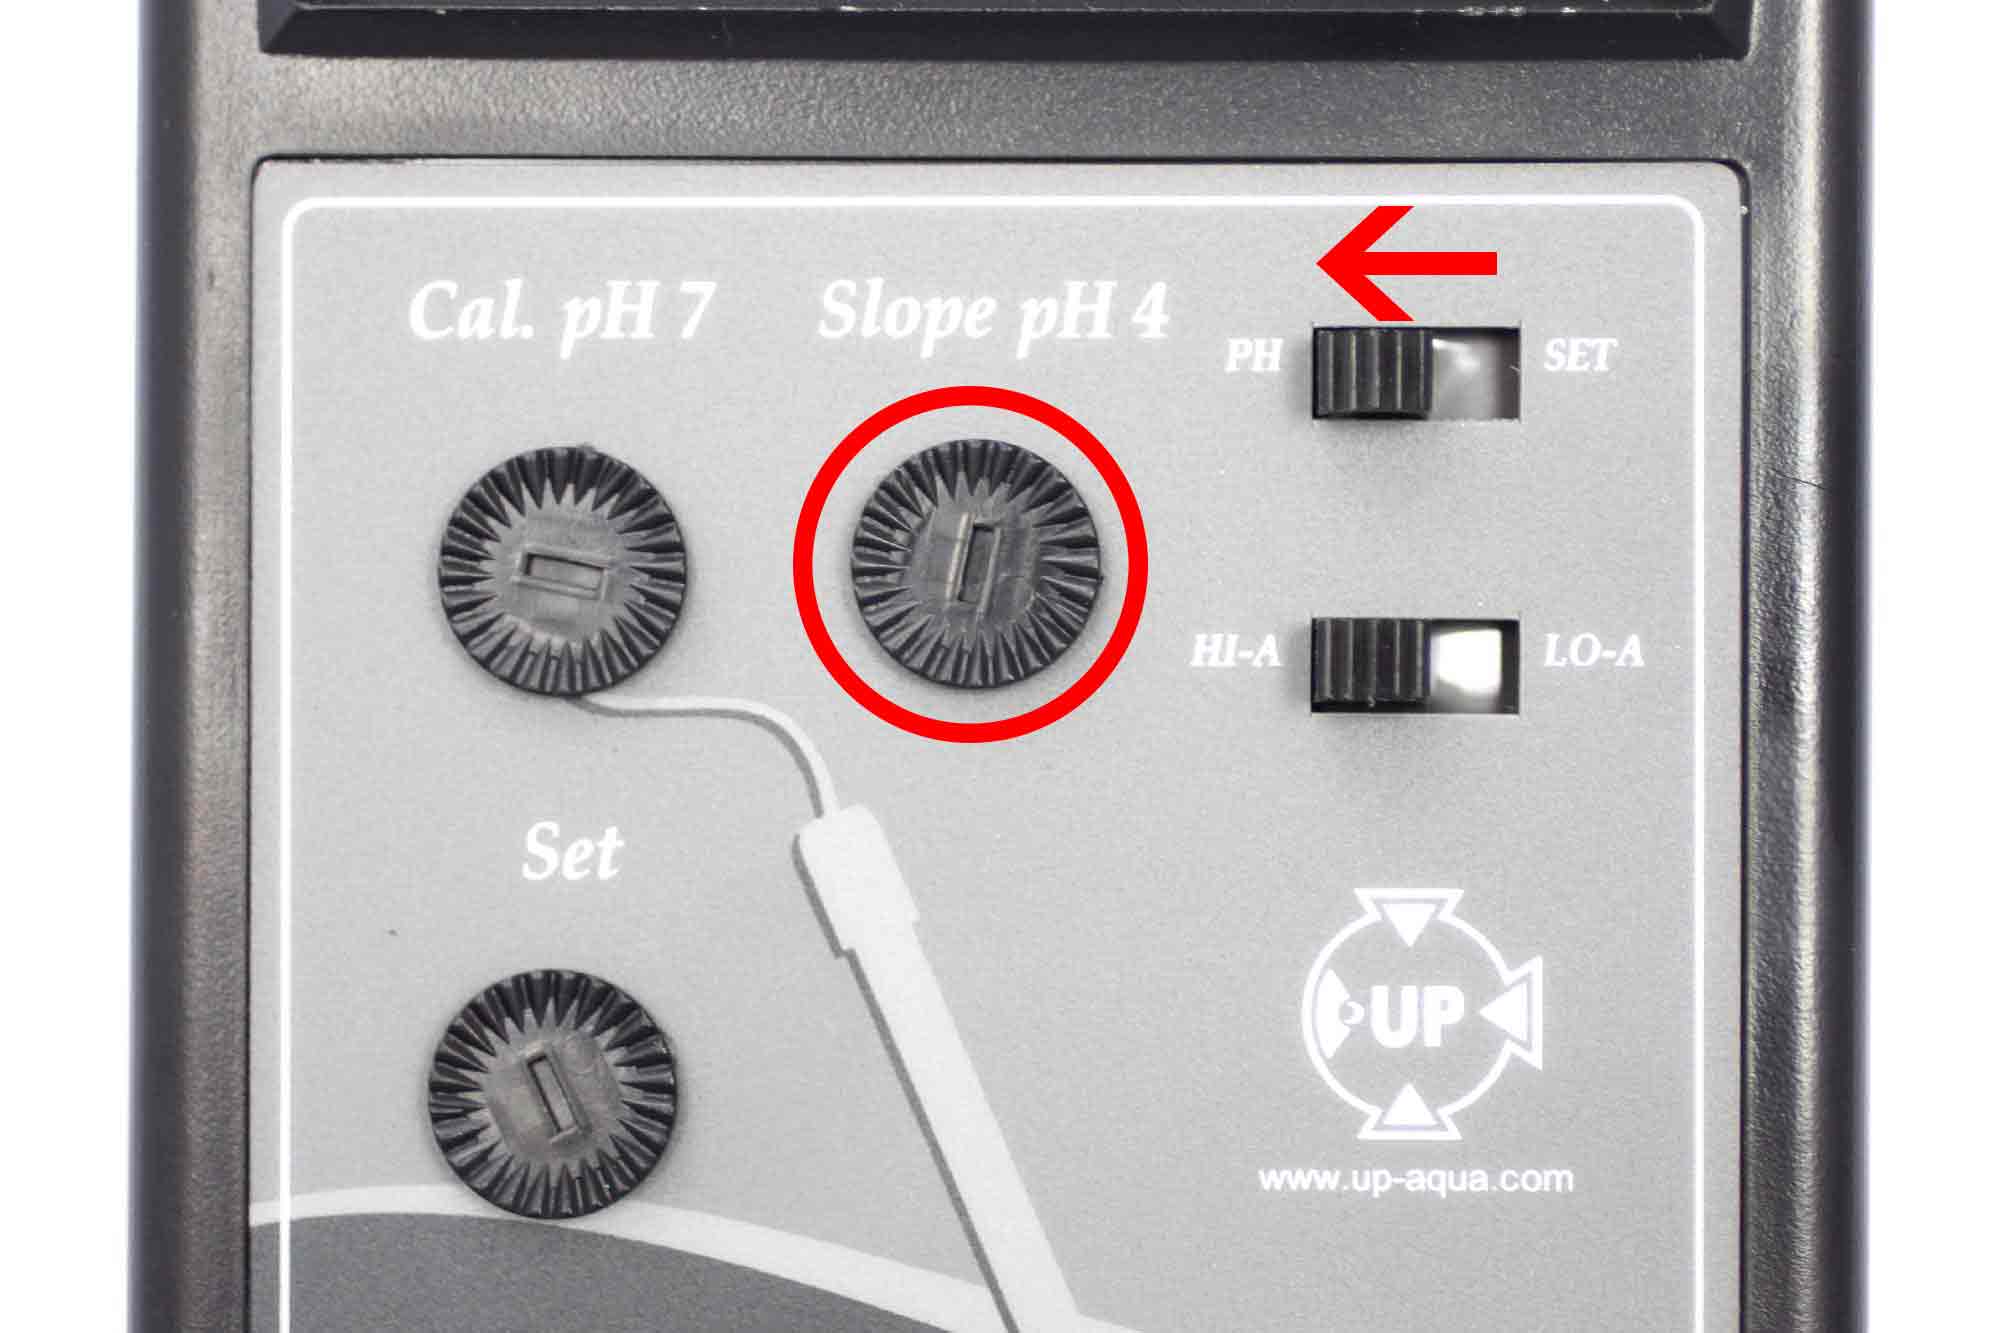
Step 7) Slide the switch to "PH" and adjust the "Slope pH4" adjuster until the display reads "4.00". The controller is now calibrated for pH 4.
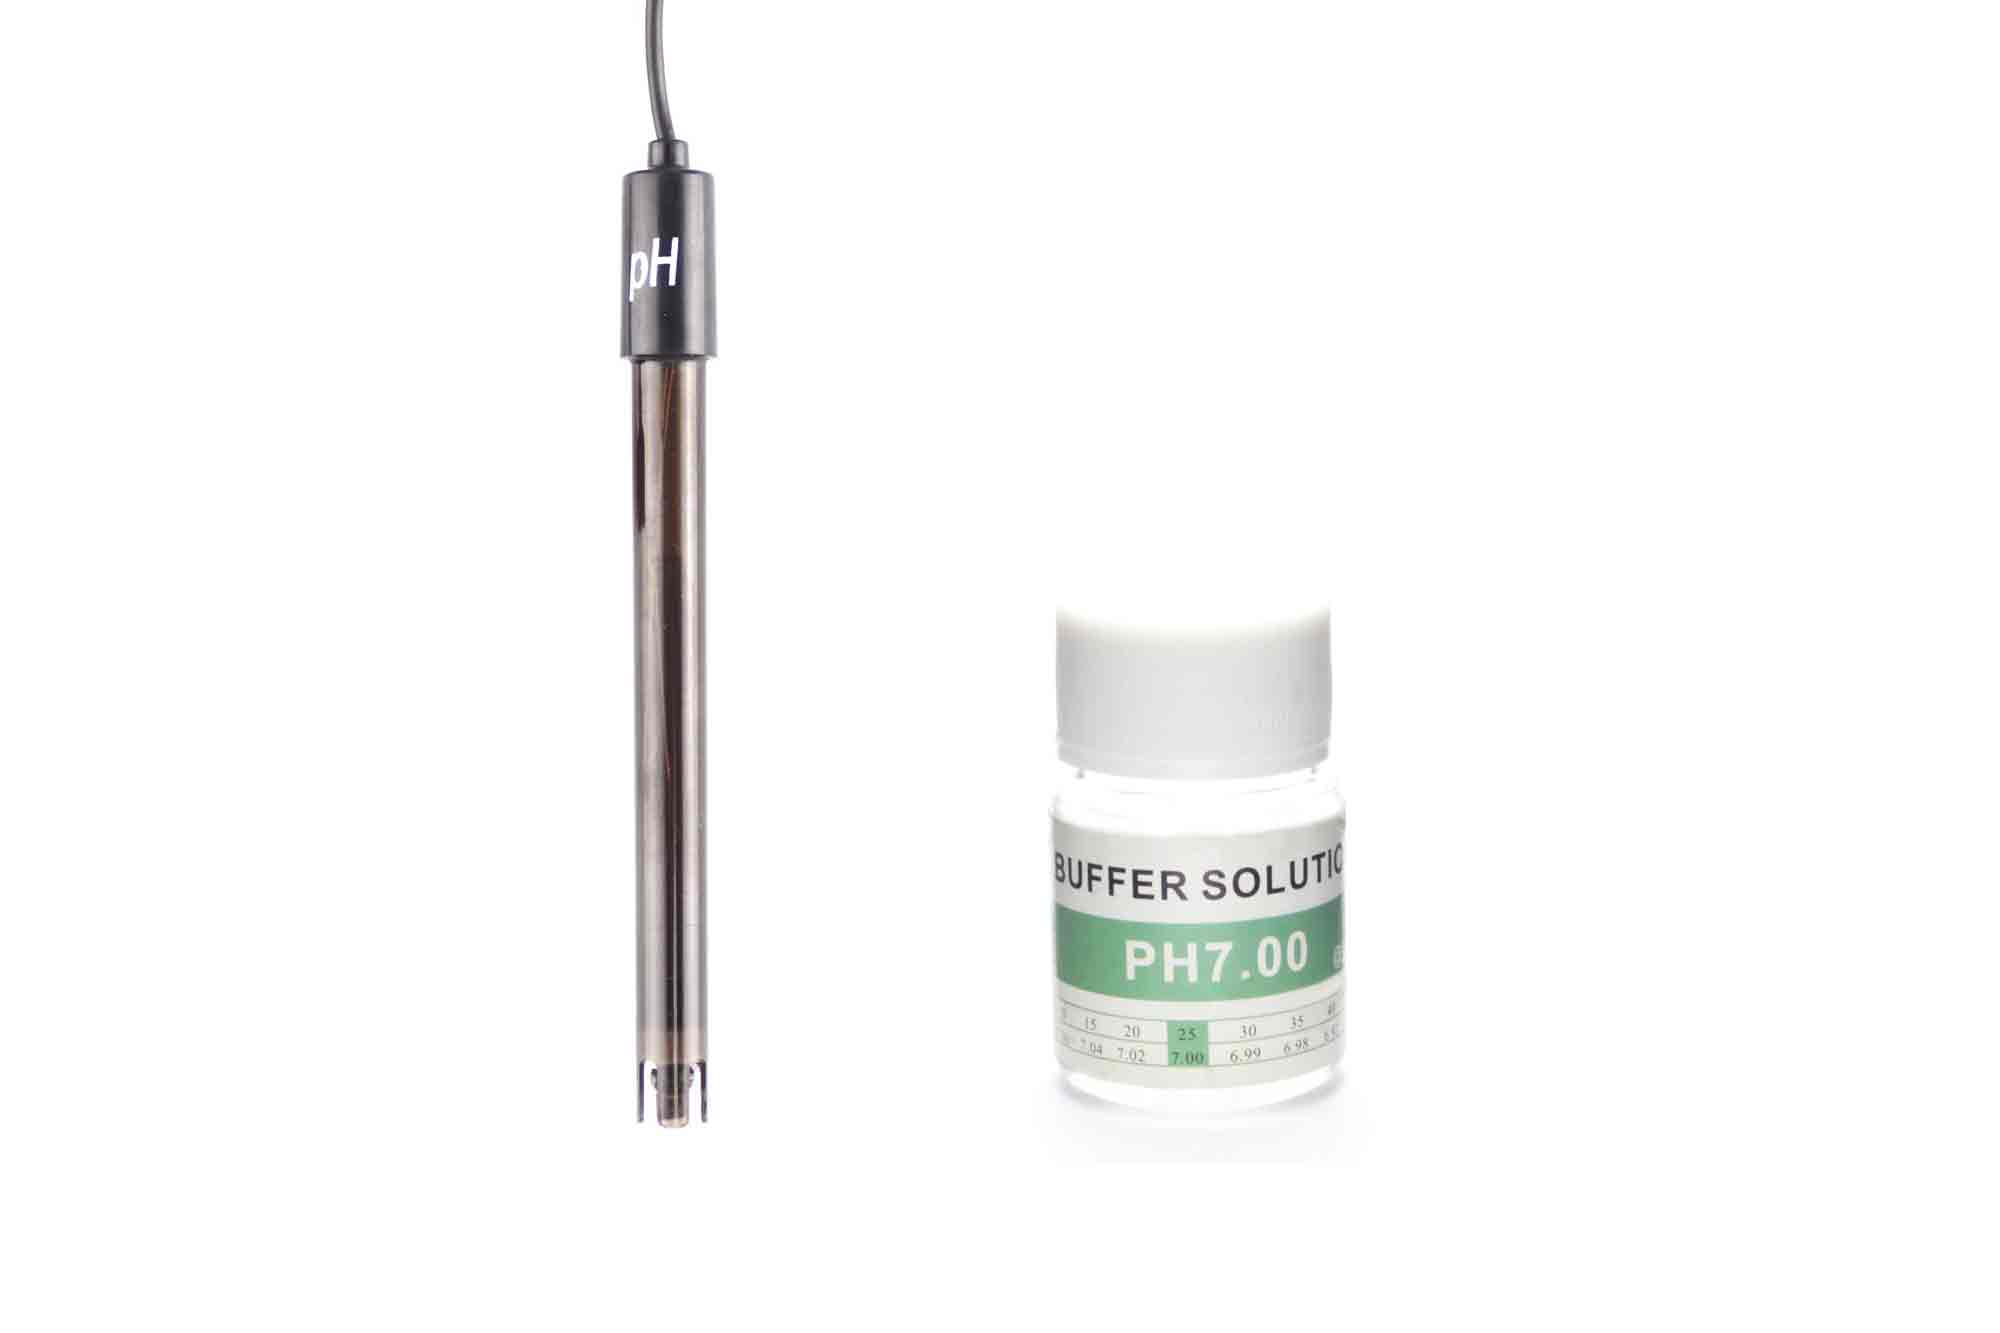
Step 8) Now place the electrode in the pH 7 calibration solution. Leave for 5 minutes for the electrode reading to stabilise.
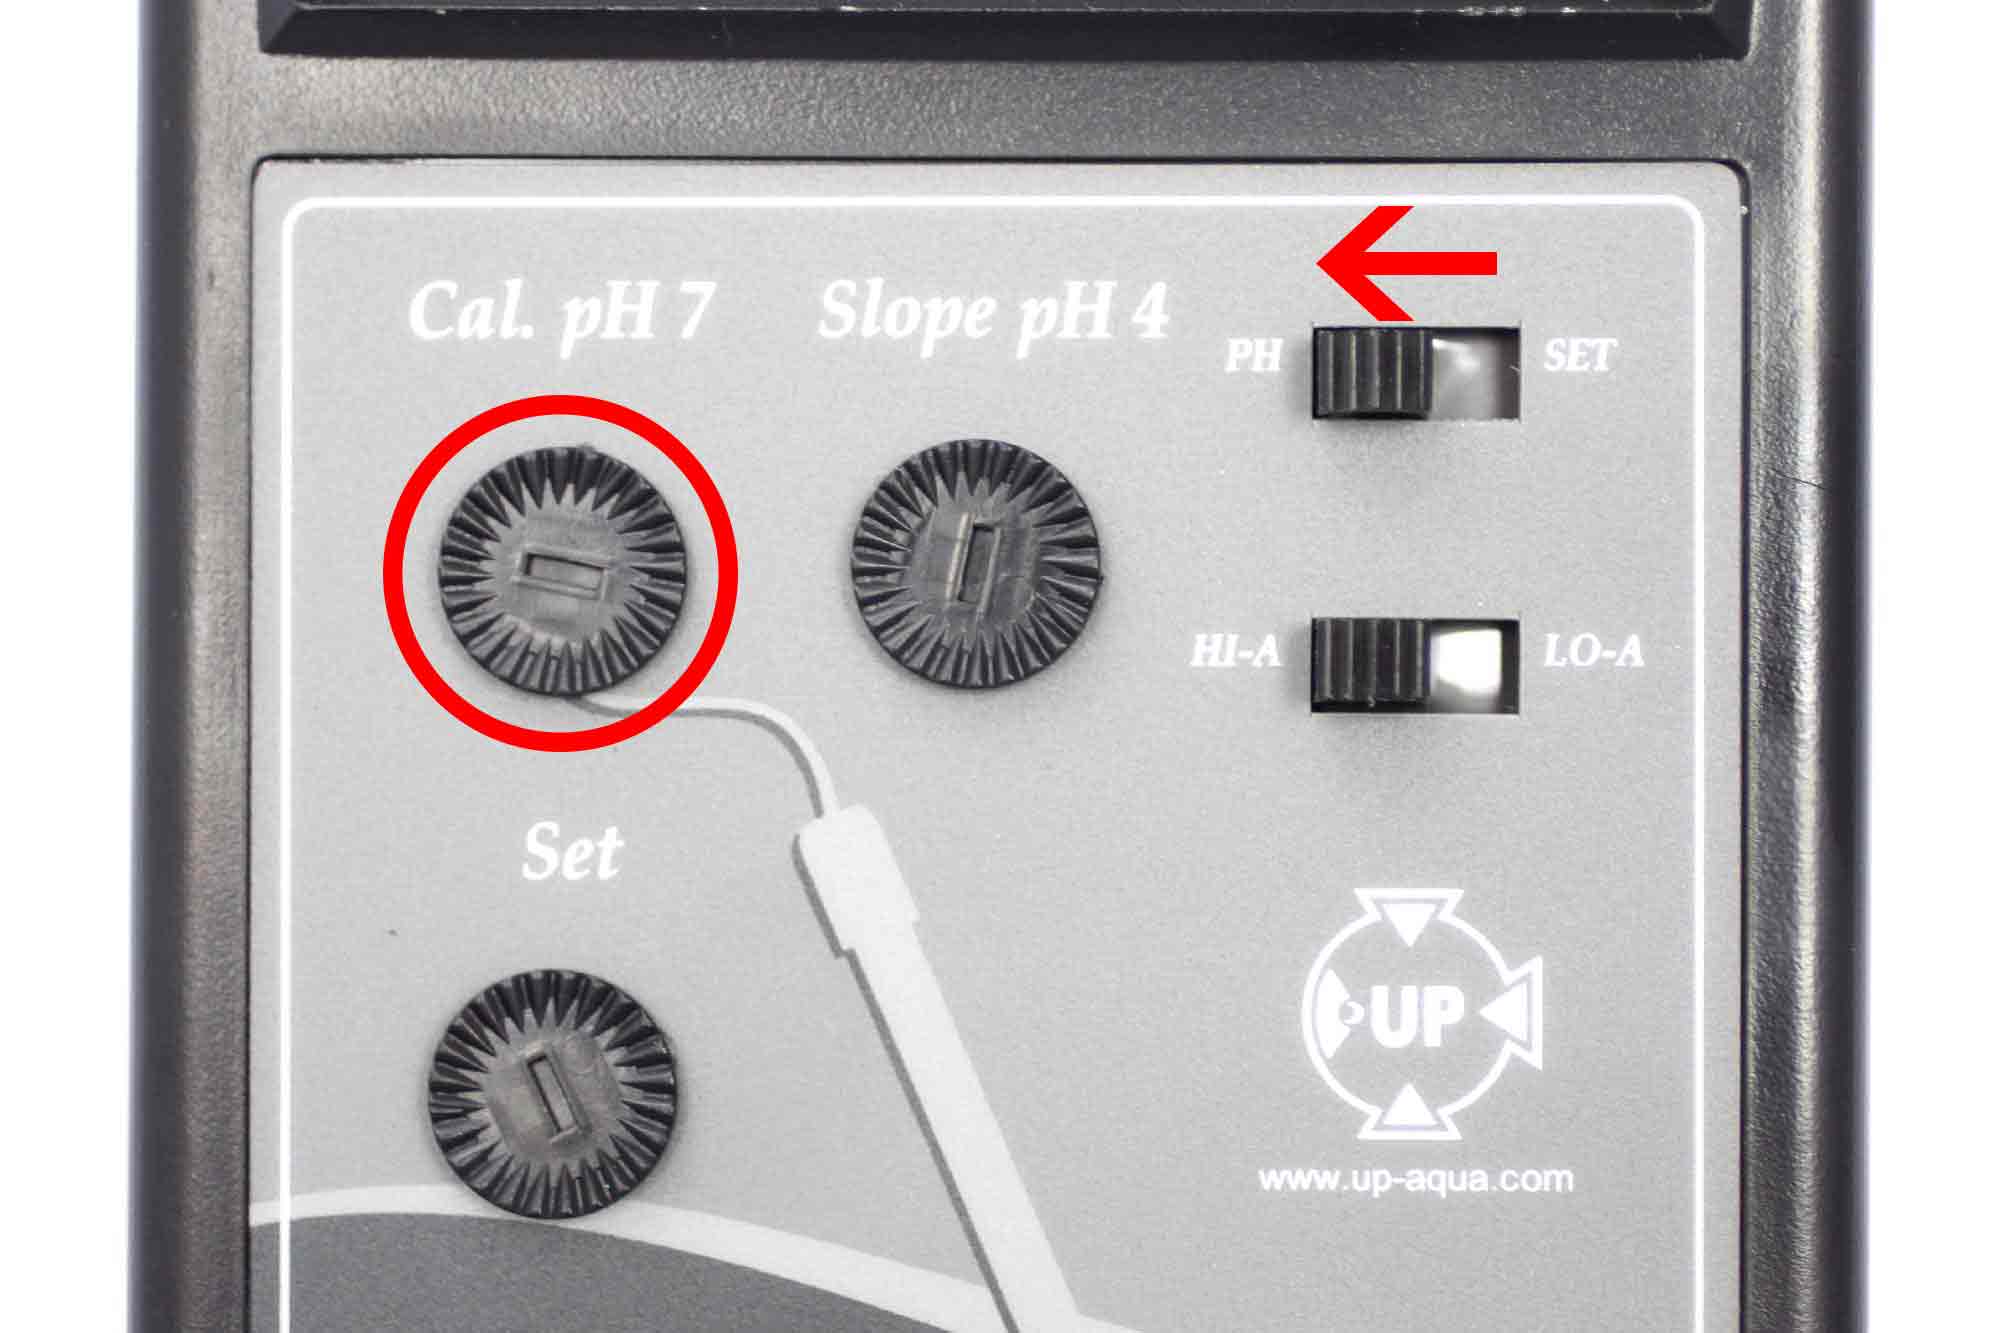
Step 9) Keep the switch set to "PH" and adjust the "Cal. pH 7" adjuster until the display reads "7.00". The controller is now calibrated for pH 7.
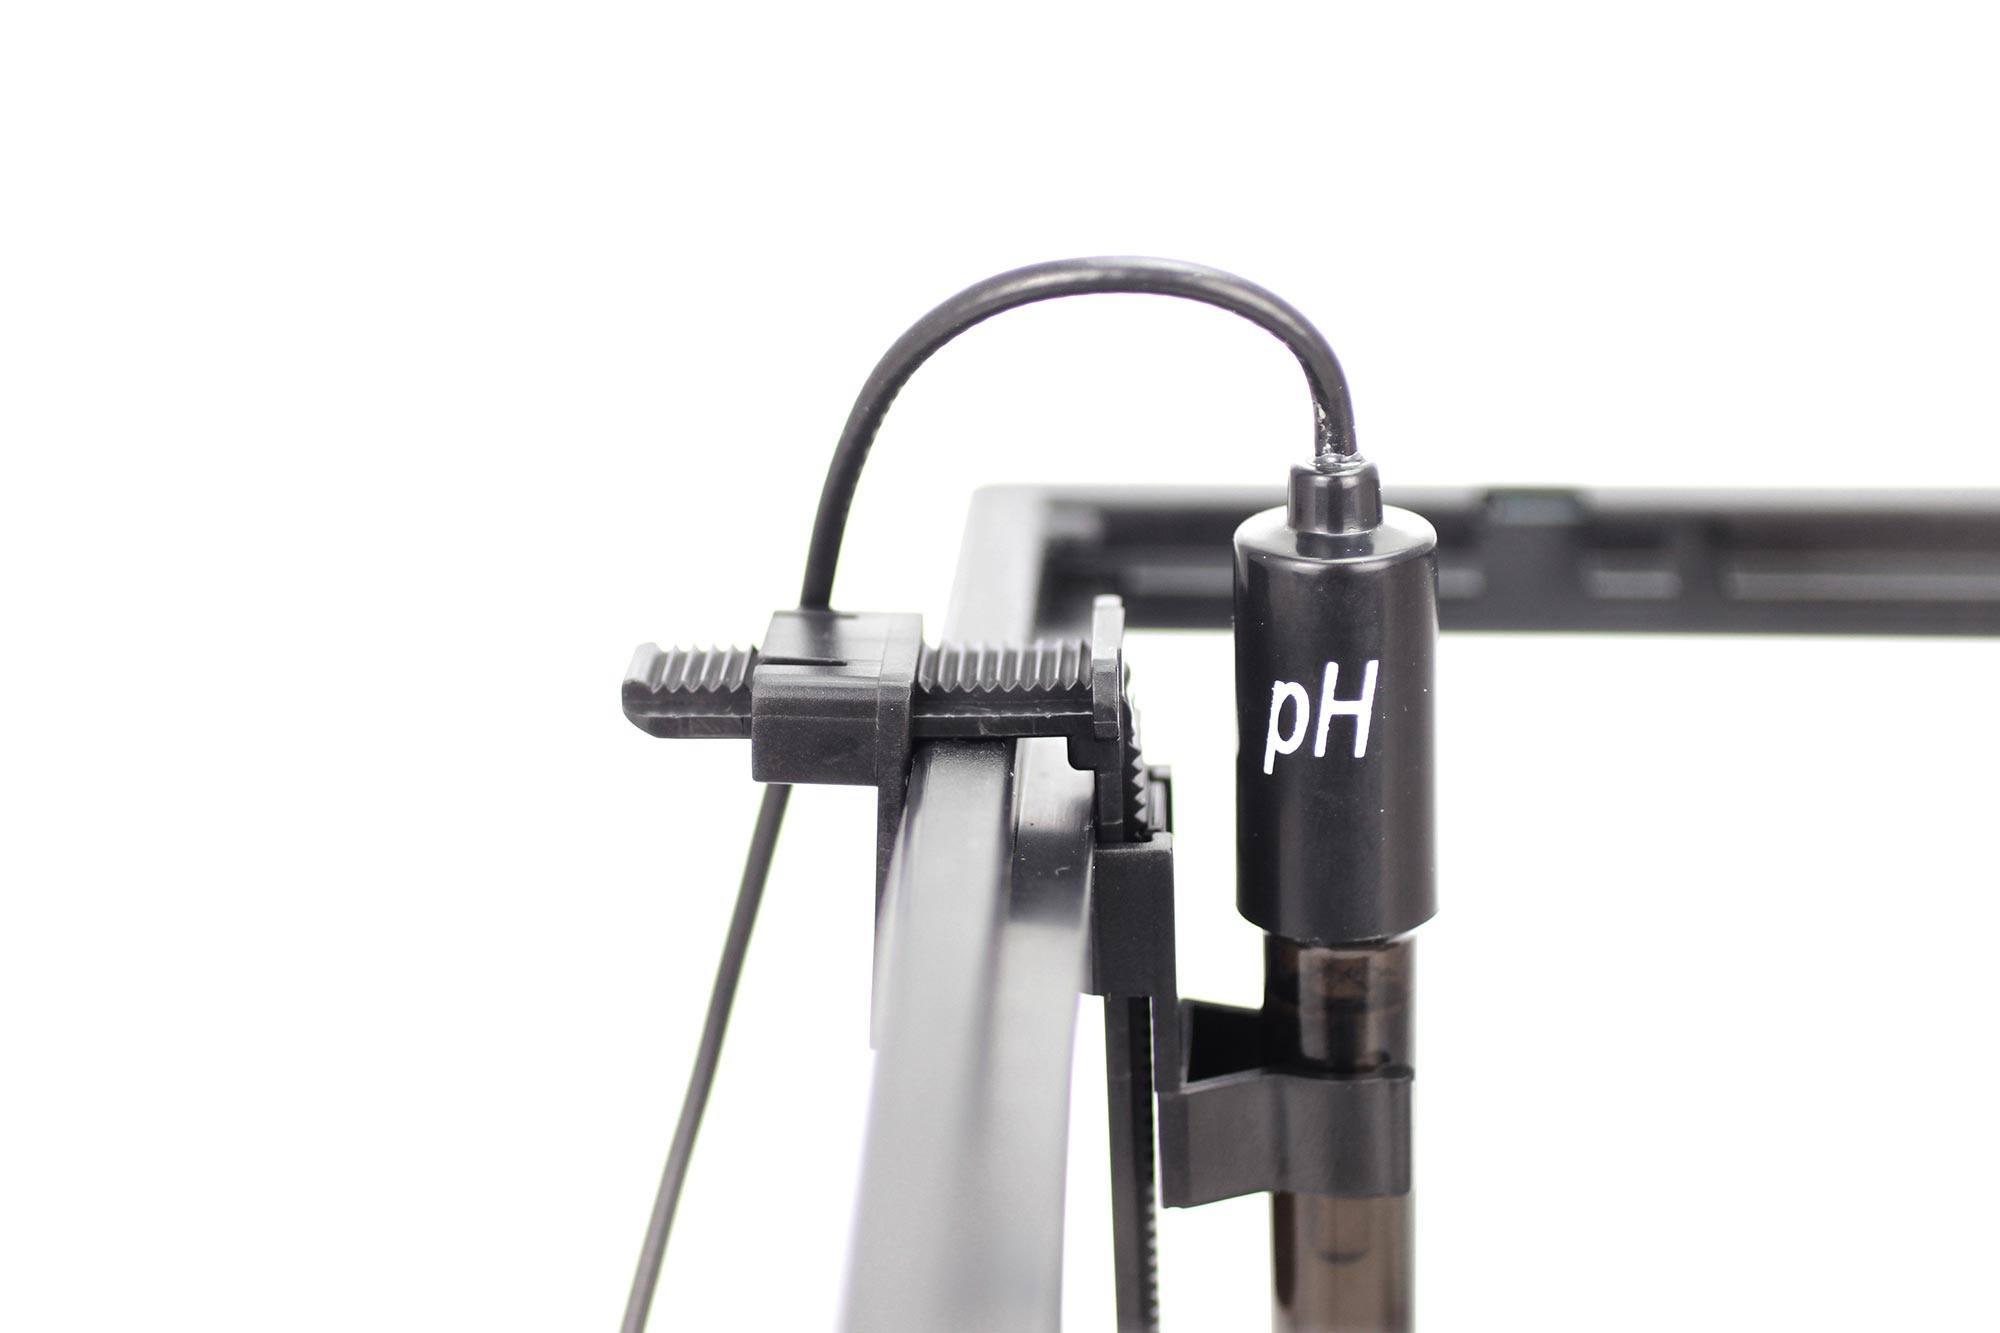
Step 10) Leave the control unit set to "PH" and remove the electrode from the calibration solution. Using the mounting bracket, position the electrode in the aquarium ensuring the cap is above the water level.
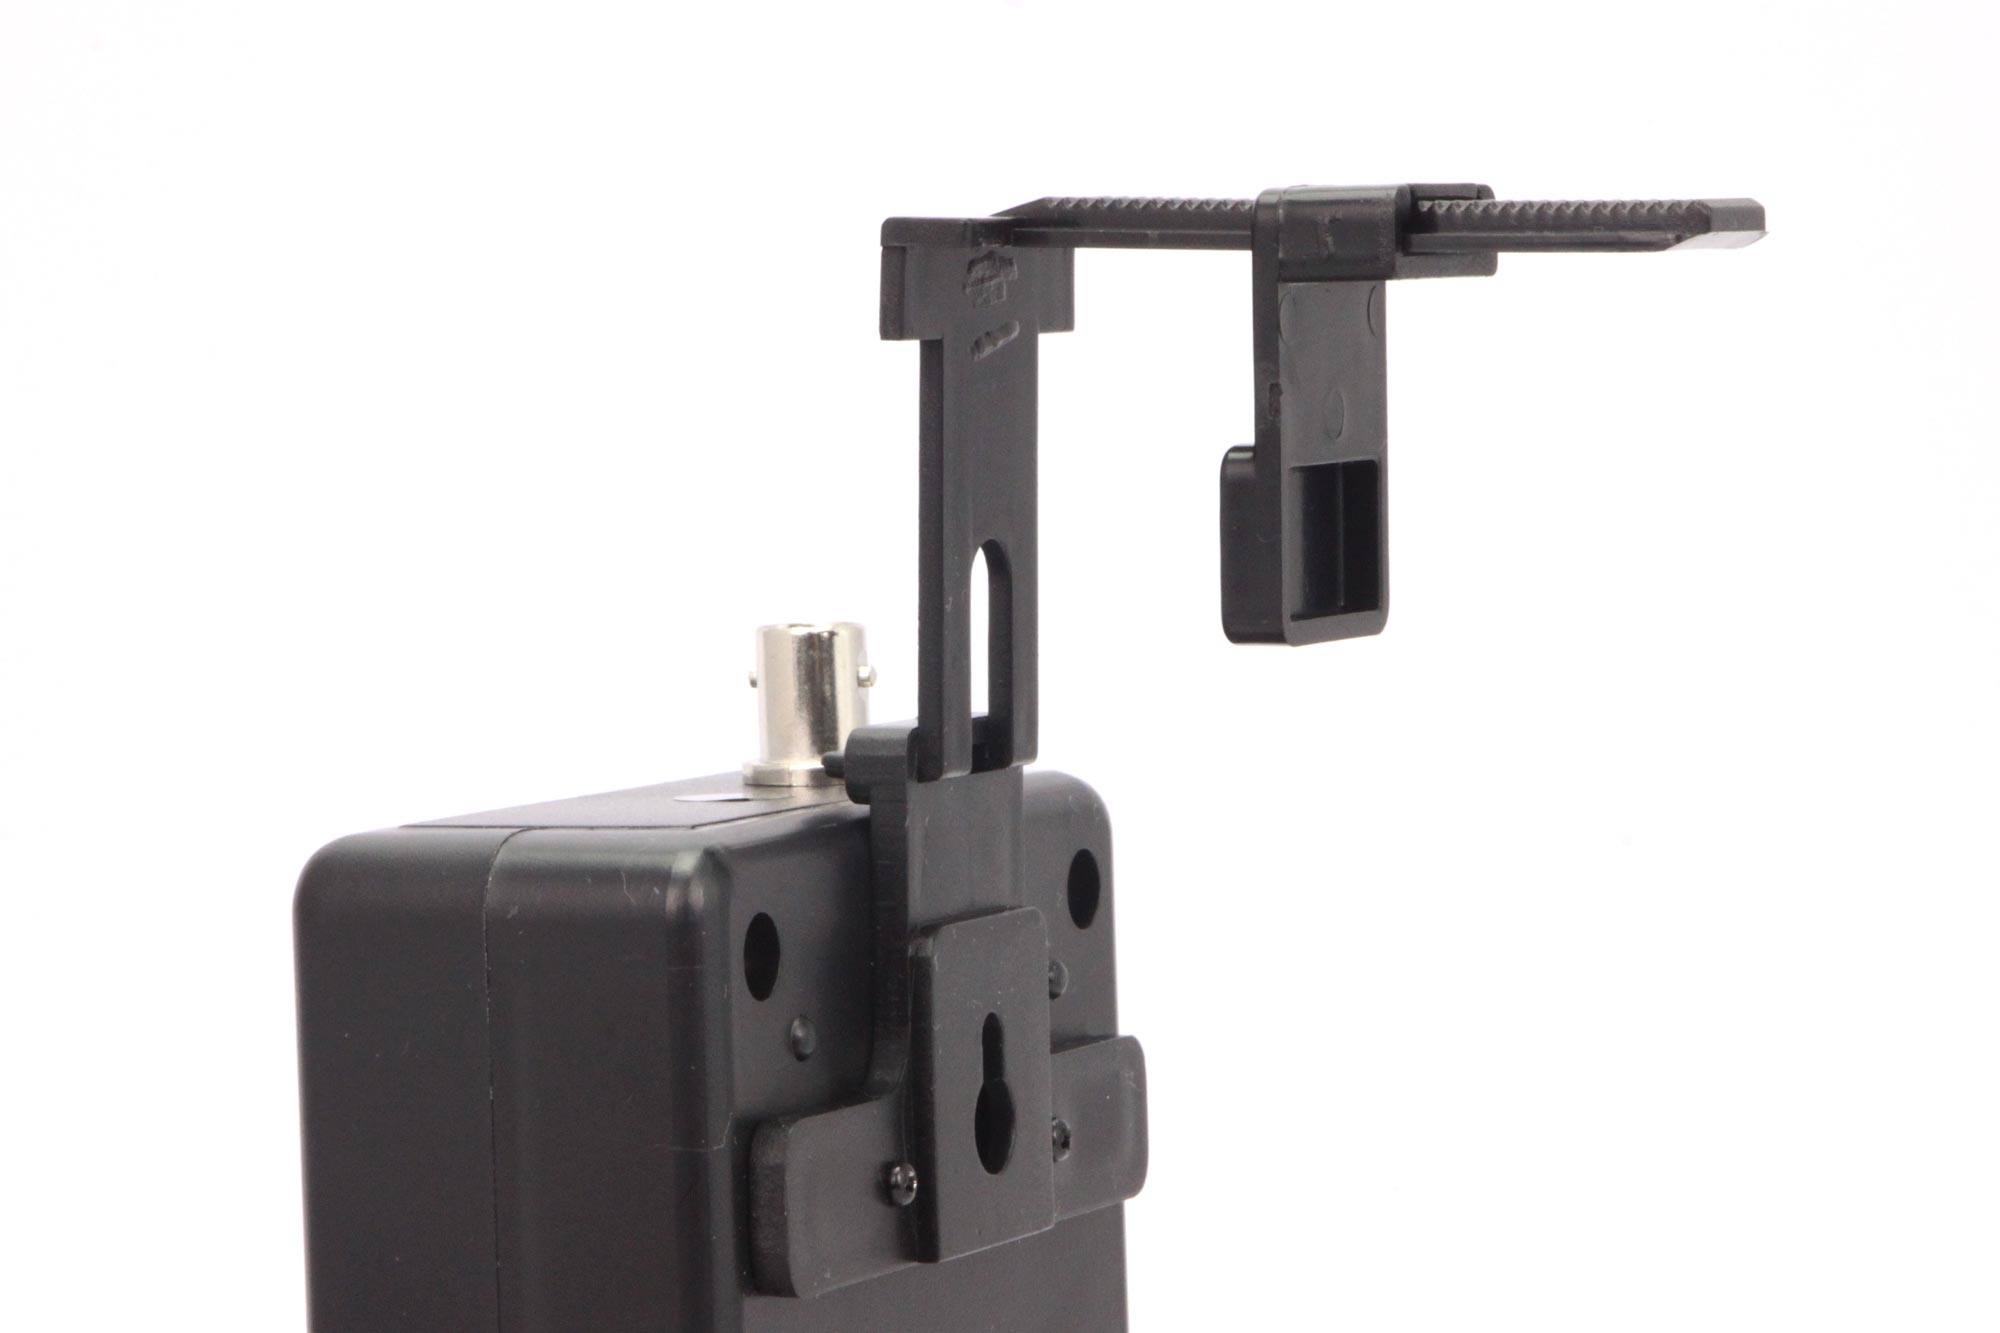
Step 11) If desired, the control unit can be mounted on the side of the aquarium using the bracket.
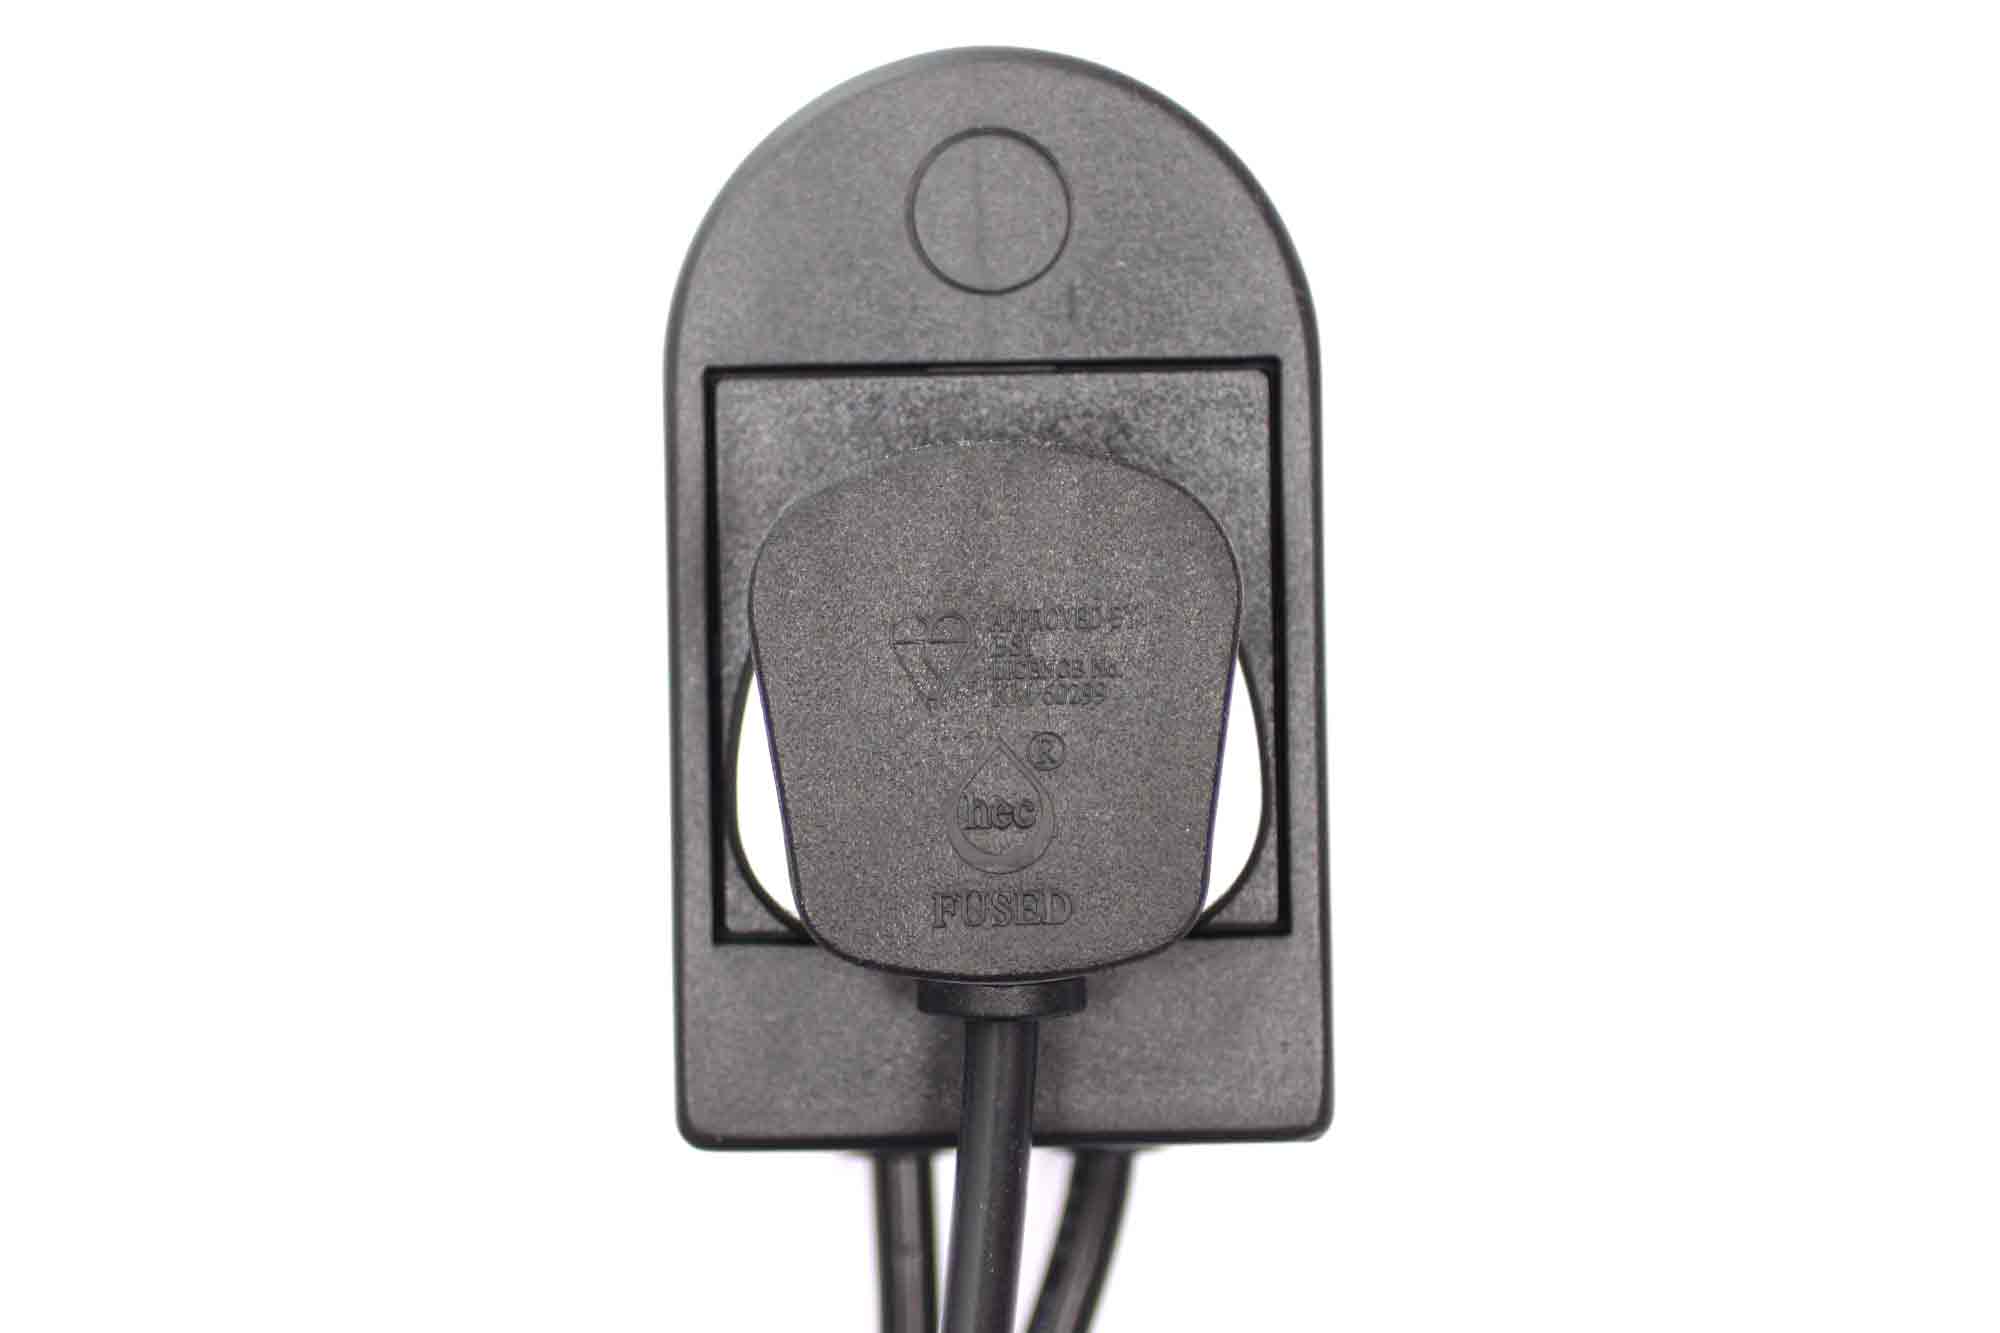
Step 12) Plug the solenoid for your regulator into the controller's output plug.
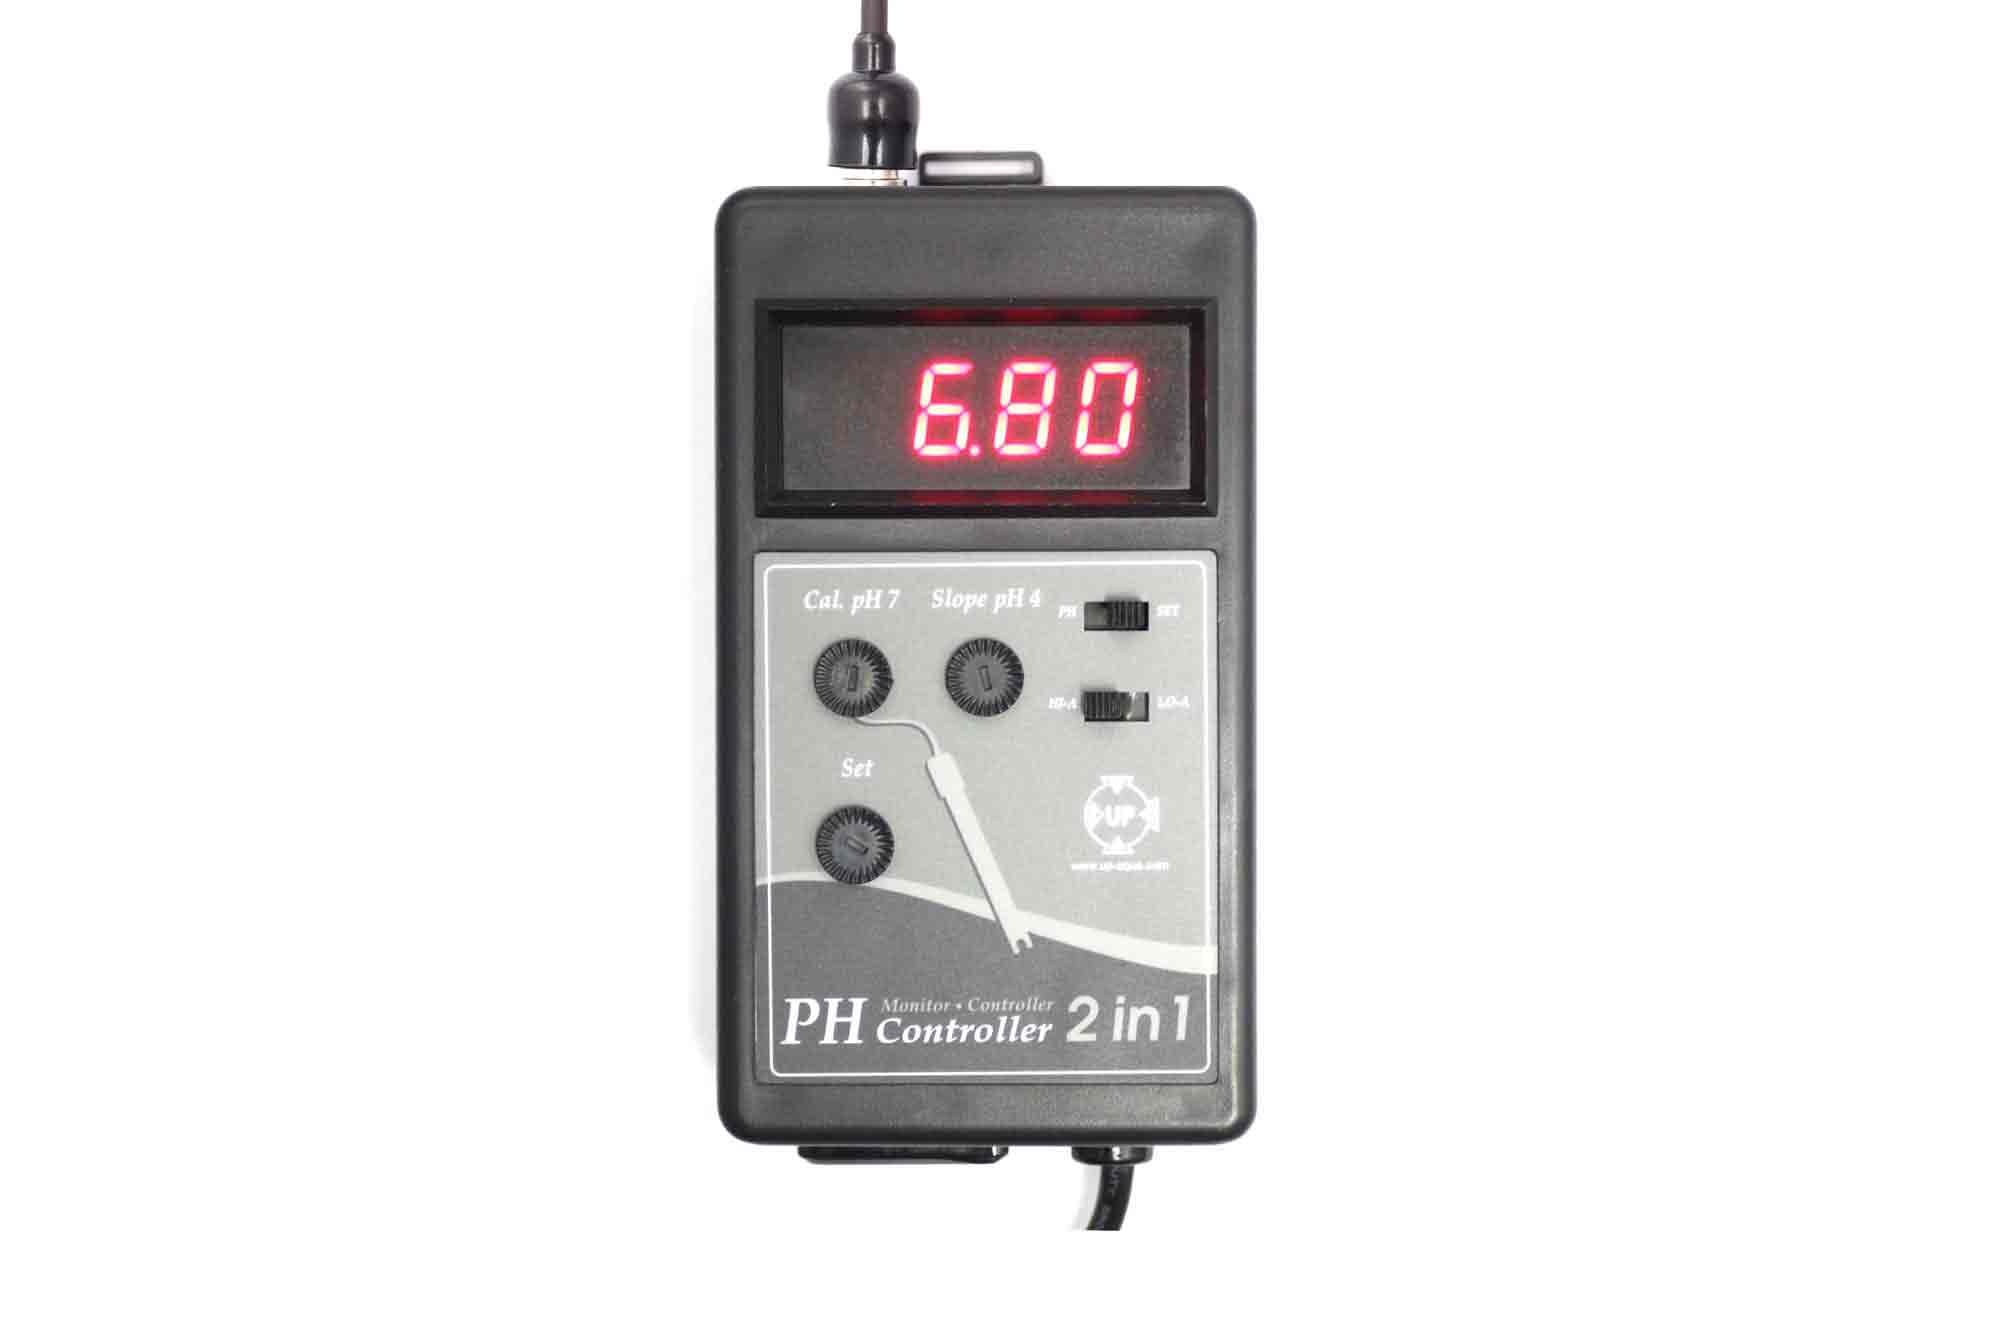
Step 13) The controller will now display the current pH of the water where the electrode has been deployed, and will activate the output plug to maintain the target/set pH.
The controller will switch on the solenoid / CO2 when the pH climbs ~0.1 above the target pH. It will remain switched on until the pH drops ~0.1 below the target pH.
You may wish to check the pH4 and pH7 calibration every couple of months to ensure accurate operation.
Clean the electrode every 2-3 weeks using a soft brush. Do not use finger, cloth, alcohol, or any other cleaning products.
Using a Drop Checker
If you are using a drop checker, monitor it until it turns a light green colour, which represents the optimal level of CO2 that's needed for your aquarium. Referring to the pH controller, you can note the pH of the aquarium, and then set that as the target pH. The pH controller will then maintain the level of CO2 that your aquarium needs for the drop checker to turn light green, ensuring you maintain the optimal level of CO2 in your aquarium.
Someone added a product to their cart
View ProductSomeone added a product to their cart
View Product


