


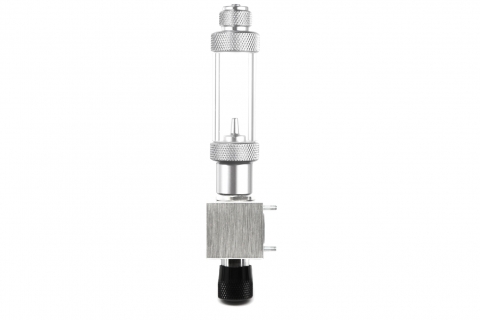
Output Manifold Instructions for Ultimate-Pro Regulator
Buy This Manifold Here
Step-by-Step Instructions
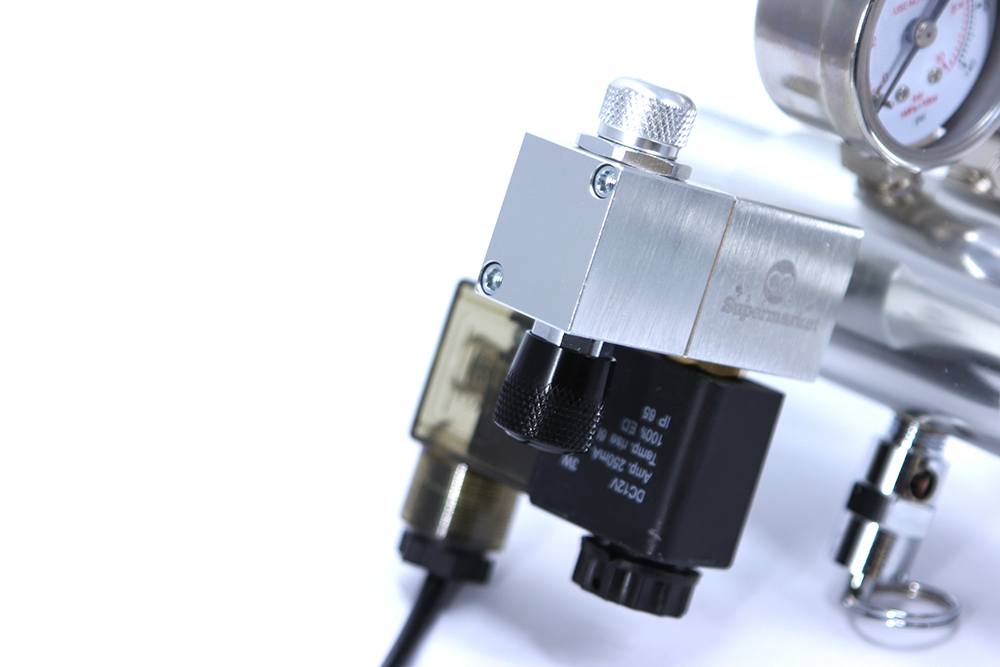
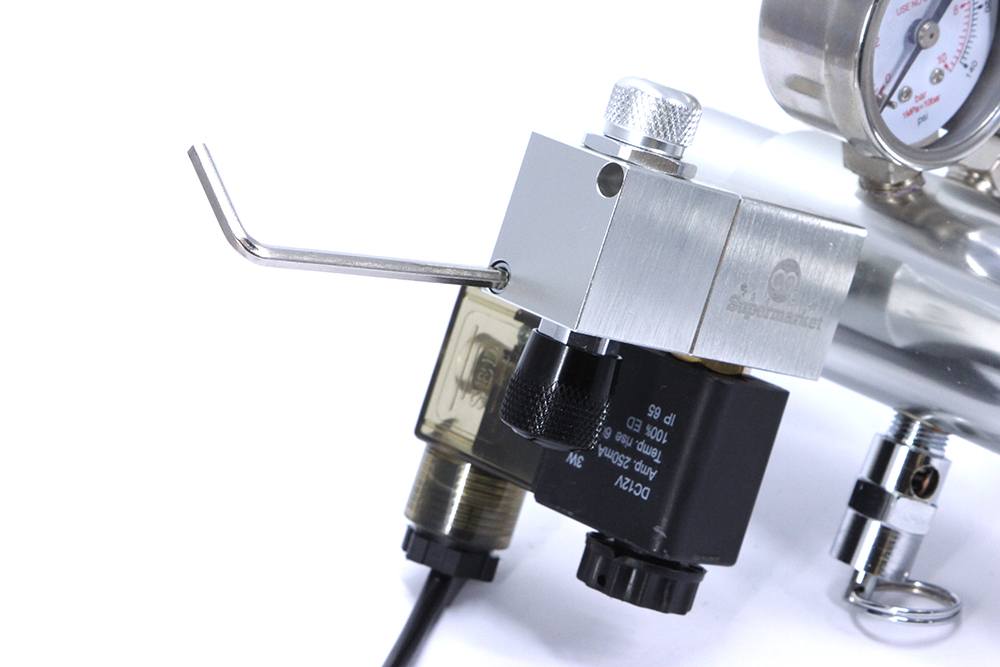
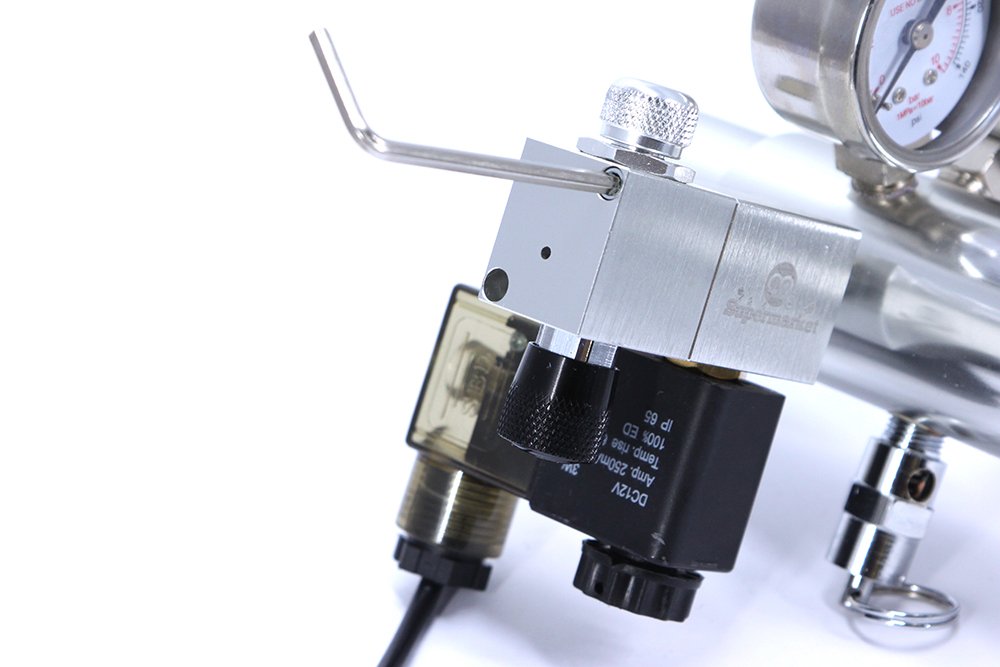
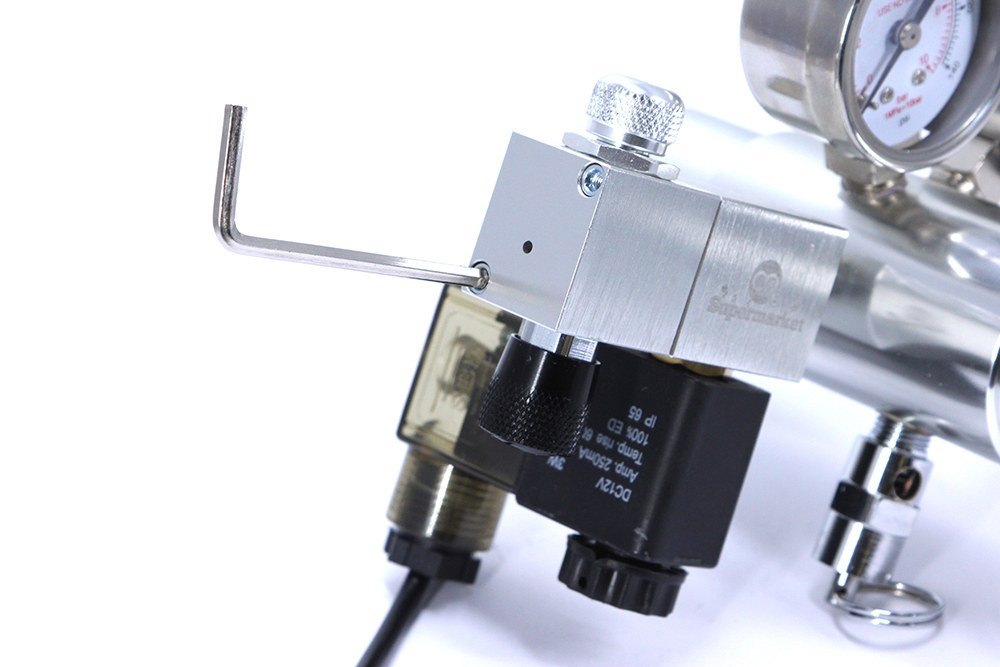
Step 1) Remove the terminal manifold by removing the two screws using the Allen key provided, and then put the manifold to one side to be used later.
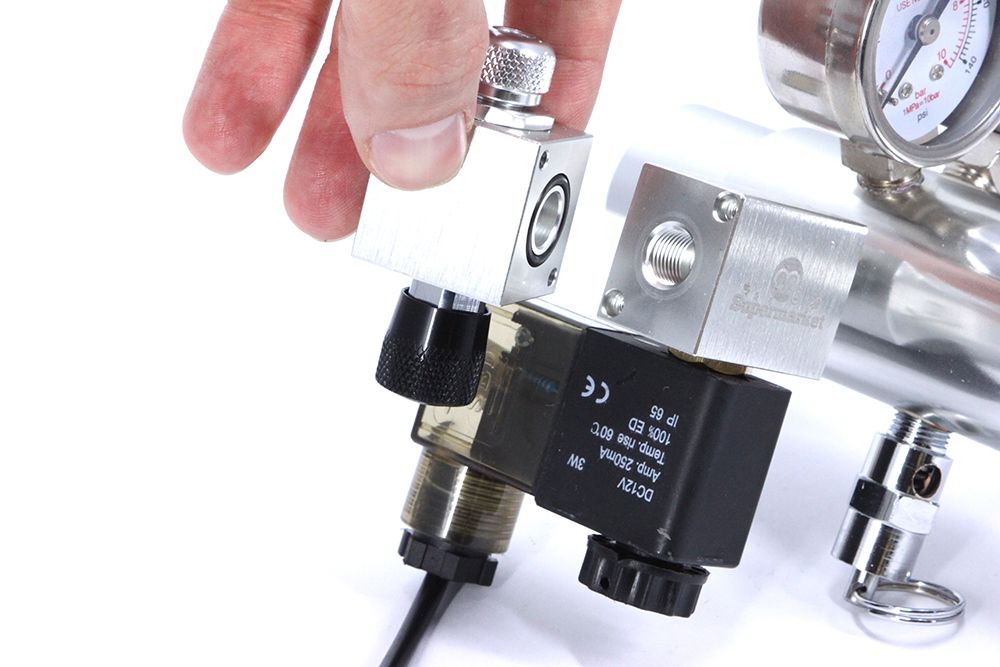
Step 2) Position the extension manifold with the O-ring facing the existing manifold.
Step 3) Attach the extension manifold using the screws provided.
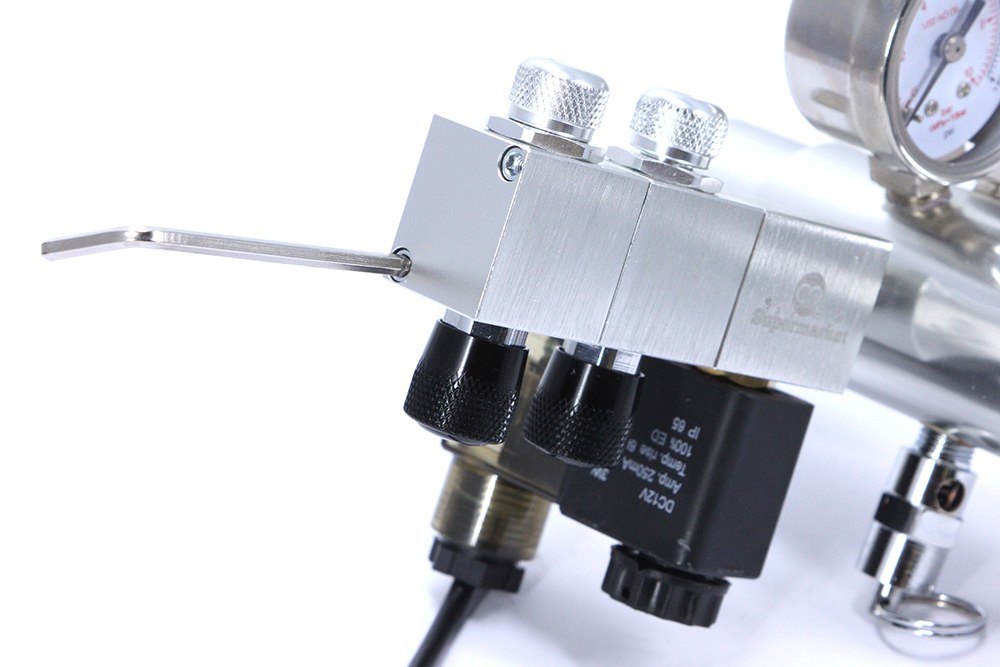
Step 4) Repeat steps 2 and 3 for all extension manifolds you wish to fit. Then attach the terminal manifold.

Step 5) Installation is now complete.

Someone added a product to their cart
View ProductSomeone added a product to their cart
View Product